Home> Furniture & Design > Living Room Furniture
Living Room Furniture
By: James Anderson • Living Room Furniture
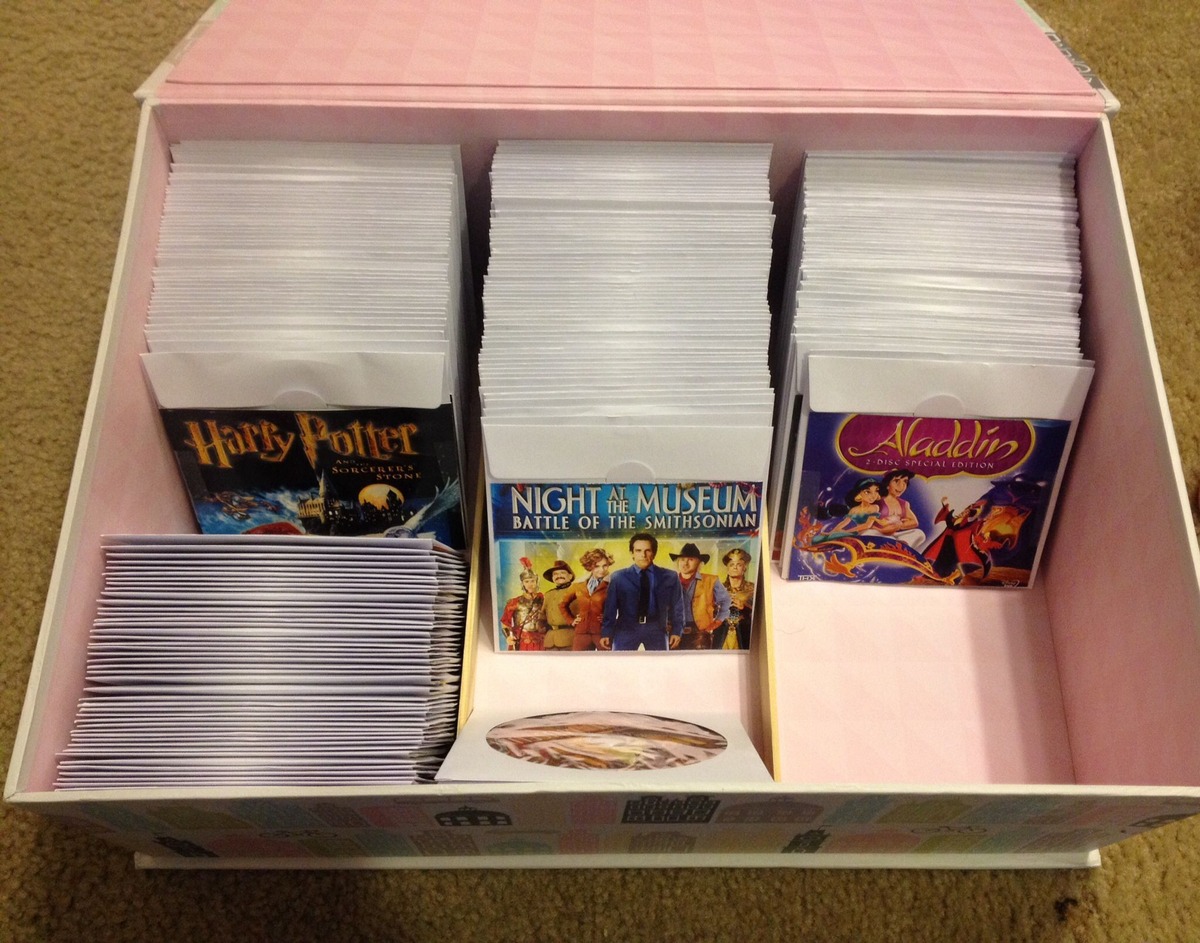
Introduction Are you tired of searching through piles of DVDs to find the movie you want to watch? Organizing your DVDs can save you time and frustration, making it easier to find your favorite films. In this article, we will explore various methods for organizing your DVD collection, including sorting...
Read More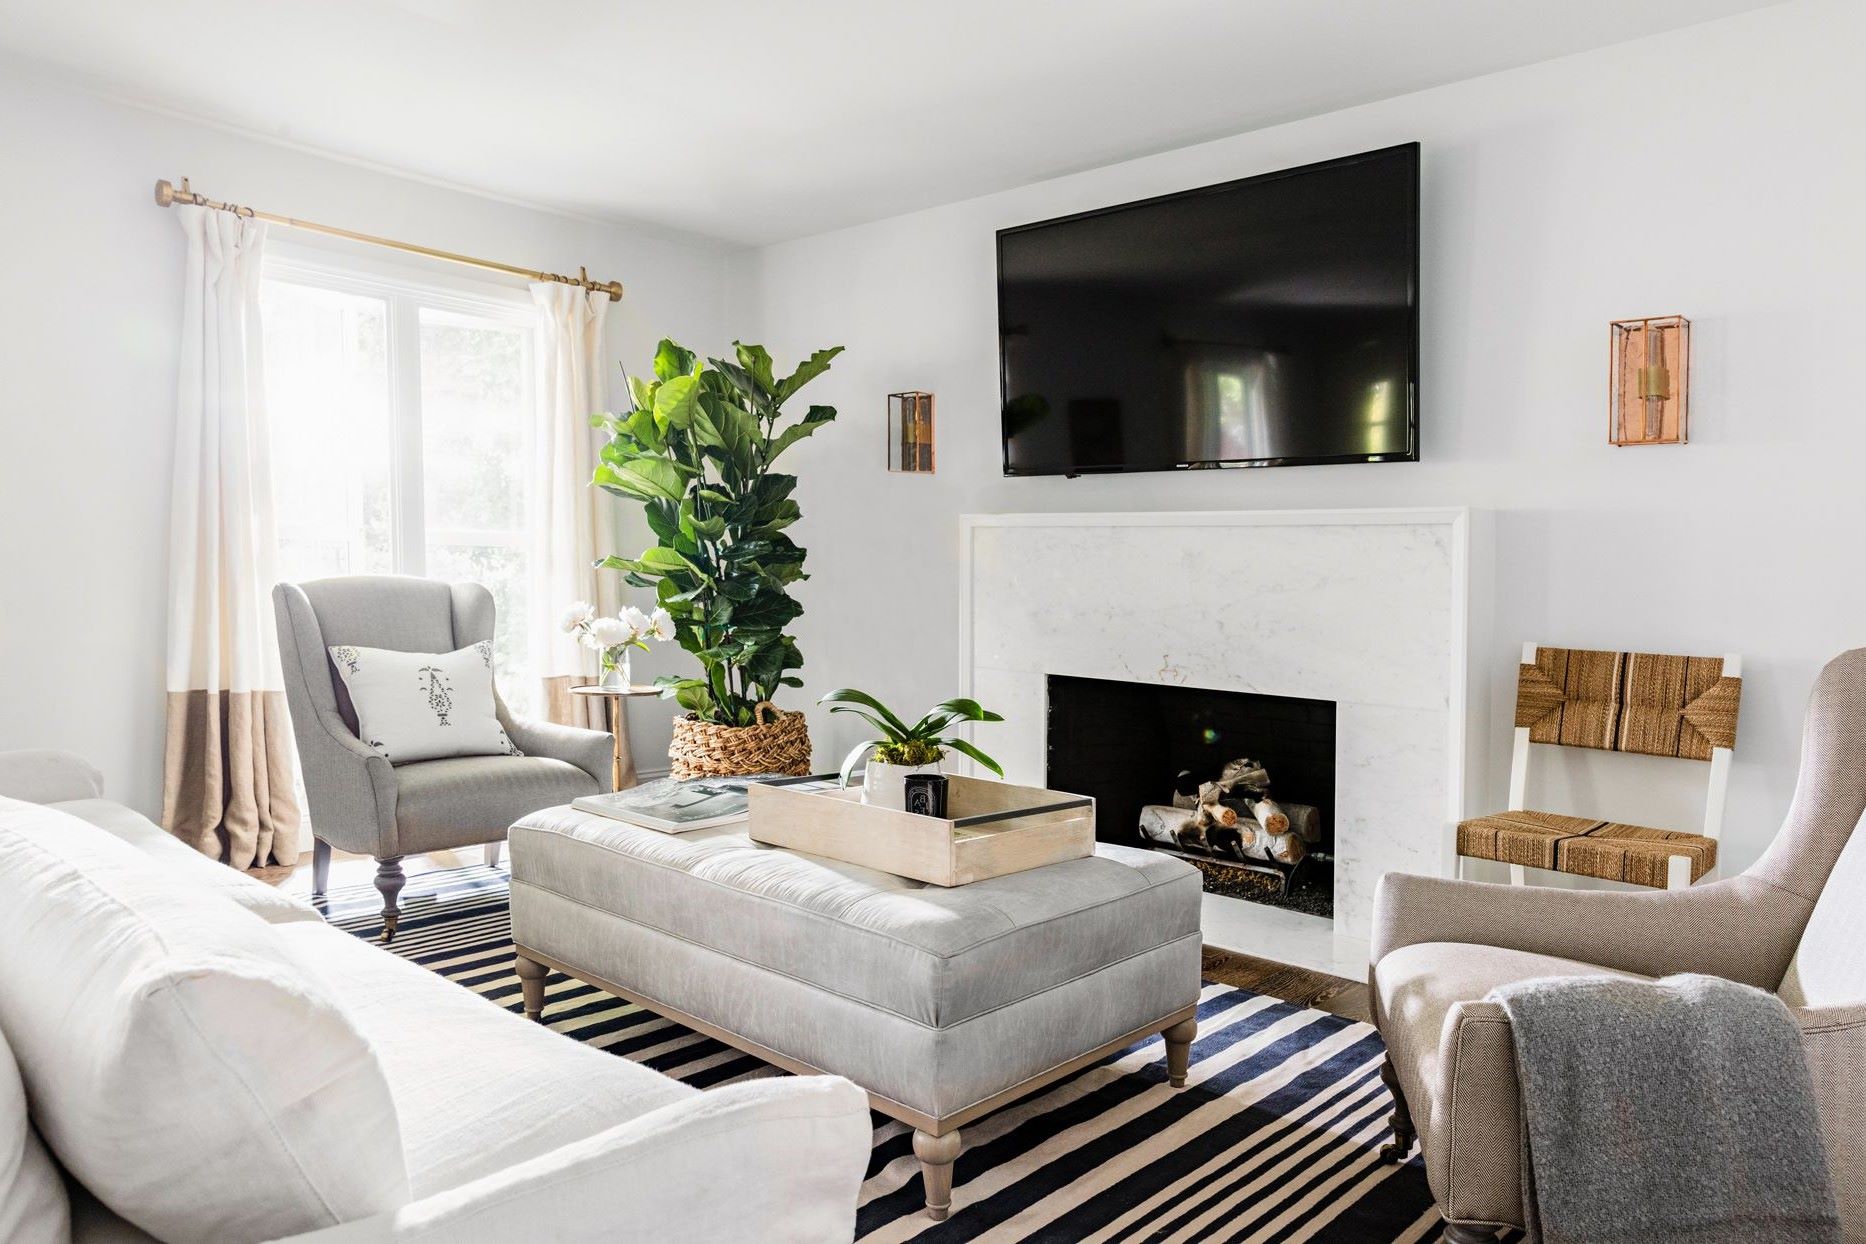
By: Chloe Davis • Living Room Furniture
How To Organize Furniture In The Living Room
Consider the Room Layout When organizing furniture in the living room, the first step is to consider the room layout. Take into account the size and shape of the room, as well as any architectural features such as windows, doors, and built-in elements. This will help you determine the best...
Read More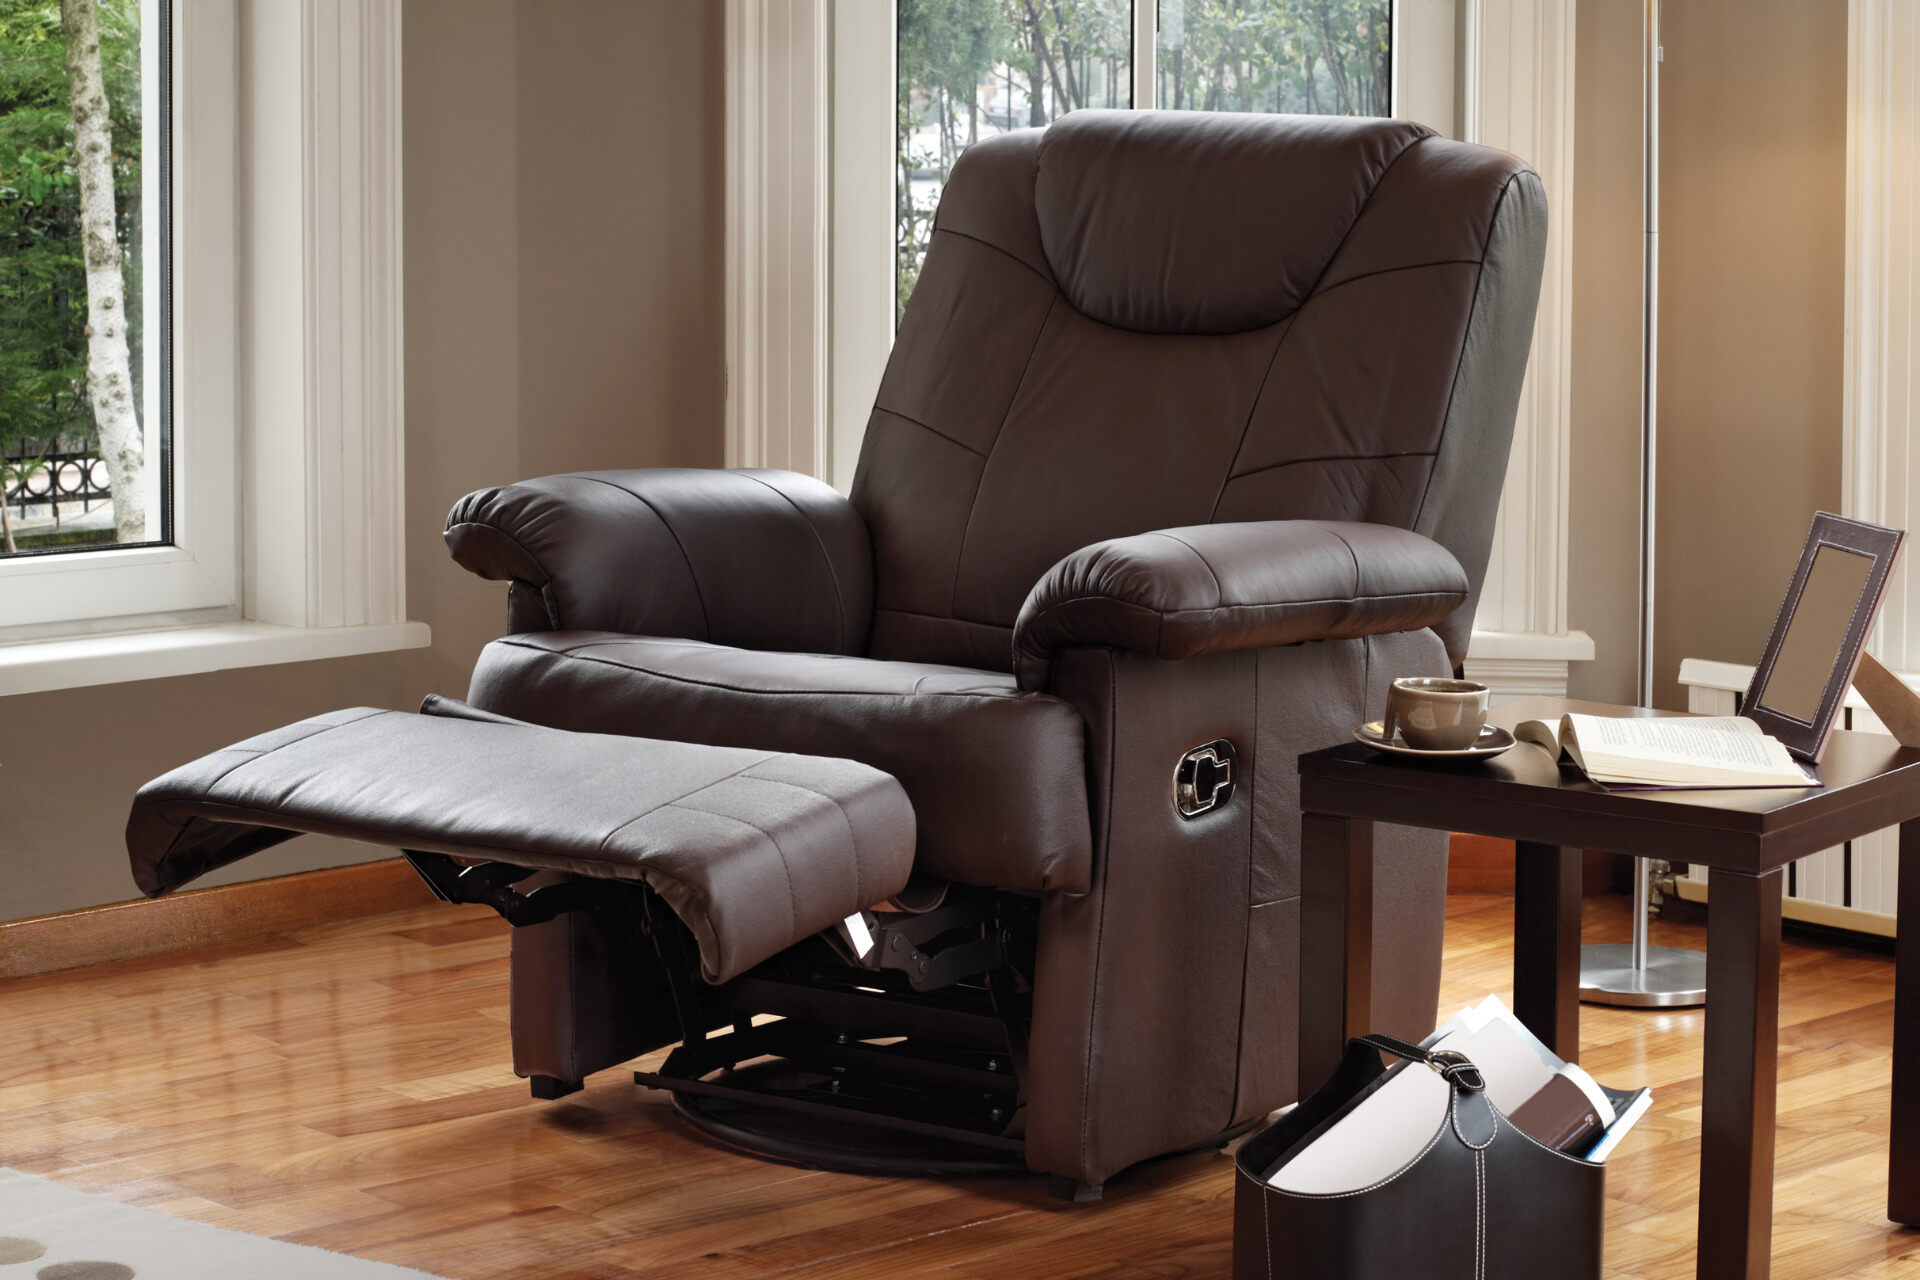
By: Daniel Carter • Living Room Furniture
Introduction Recliner chairs are the epitome of comfort and relaxation in any living room. They offer a perfect spot to unwind after a long day, providing a cozy haven for reading, watching TV, or simply taking a well-deserved nap. However, like any piece of furniture, recliners are prone to wear...
Read More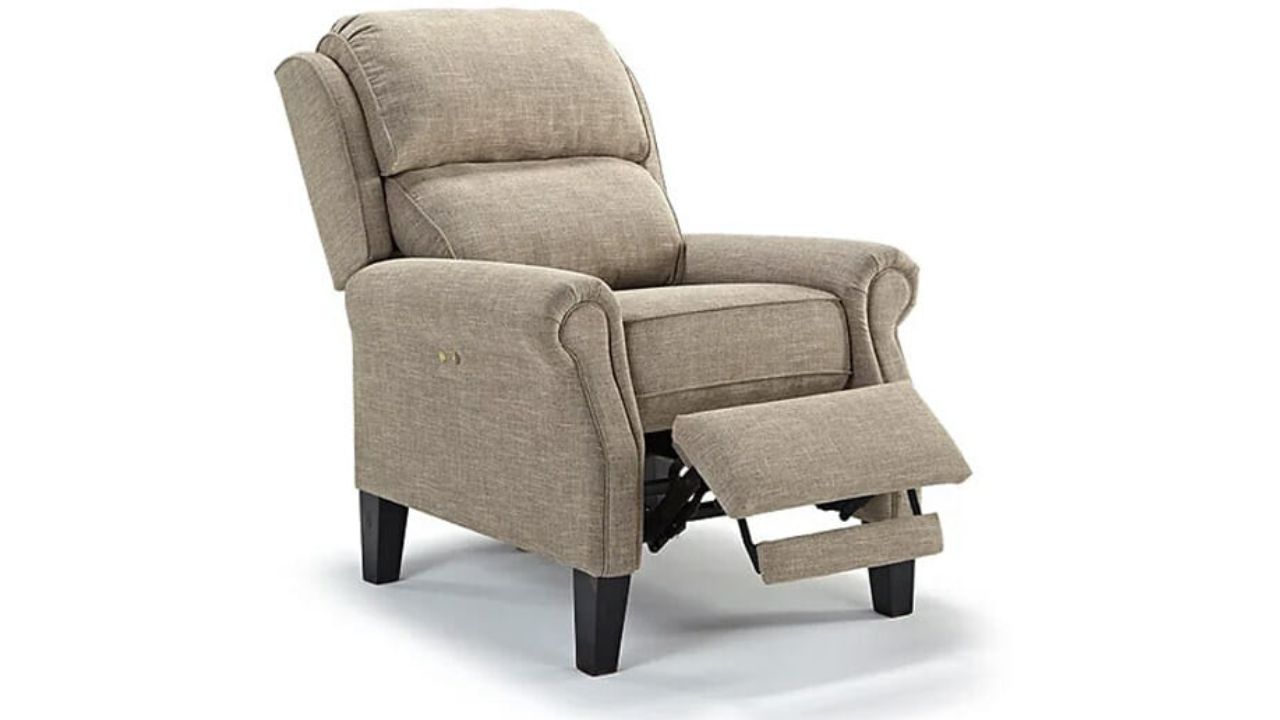
By: Emma Thompson • Living Room Furniture
Introduction When it comes to creating a cozy and inviting living room, the choice of furniture plays a pivotal role. Among the myriad options available, the high leg recliner stands out as a versatile and stylish piece that seamlessly combines comfort and elegance. This unique furniture item has gained popularity...
Read More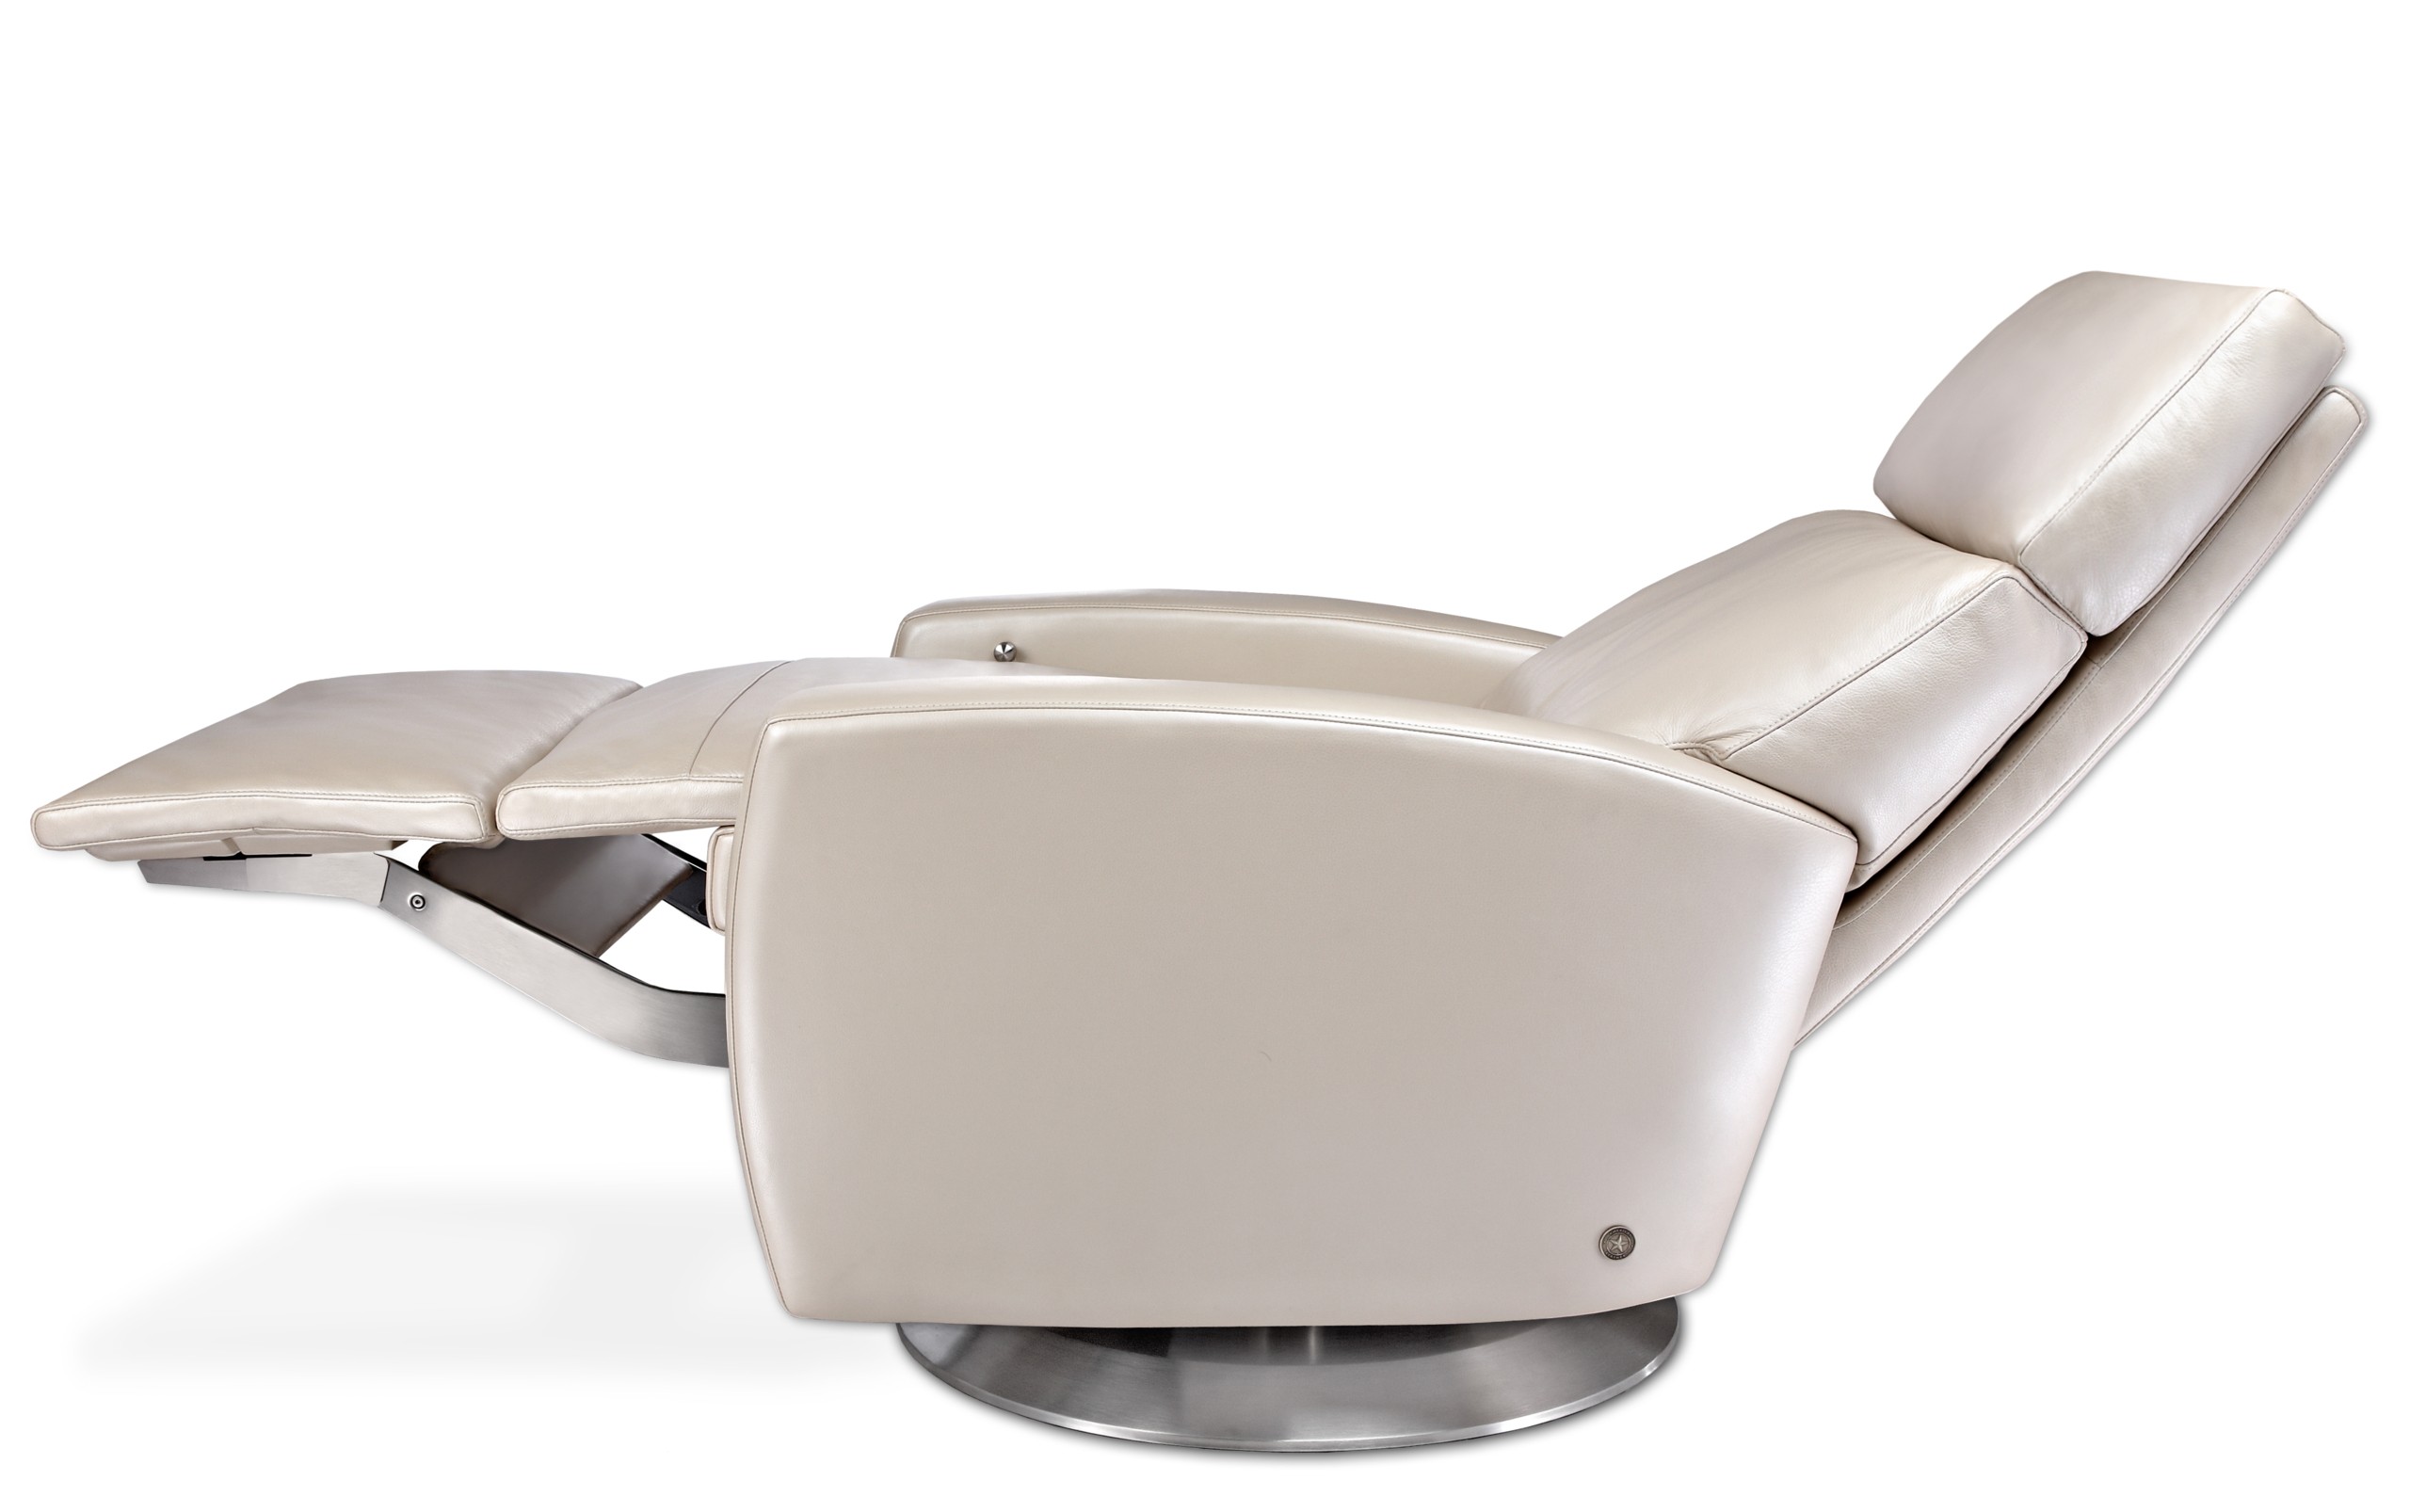
By: Samuel Turner • Living Room Furniture
How To Use A Hospital Chair Recliner
Introduction Hospital chair recliners are versatile pieces of furniture designed to provide comfort and support for individuals in healthcare settings. These specialized chairs offer a range of adjustable features, making them suitable for patients, caregivers, and medical professionals. Understanding how to use a hospital chair recliner effectively can significantly enhance...
Read More
By: Sophia Turner • Living Room Furniture
What Is The Best Recliner For An Elderly Person?
Factors to Consider When Choosing a Recliner for an Elderly Person When selecting a recliner for an elderly individual, several crucial factors should be taken into account to ensure optimal comfort, safety, and functionality. Understanding the unique needs and preferences of seniors is essential in making an informed decision. Here...
Read More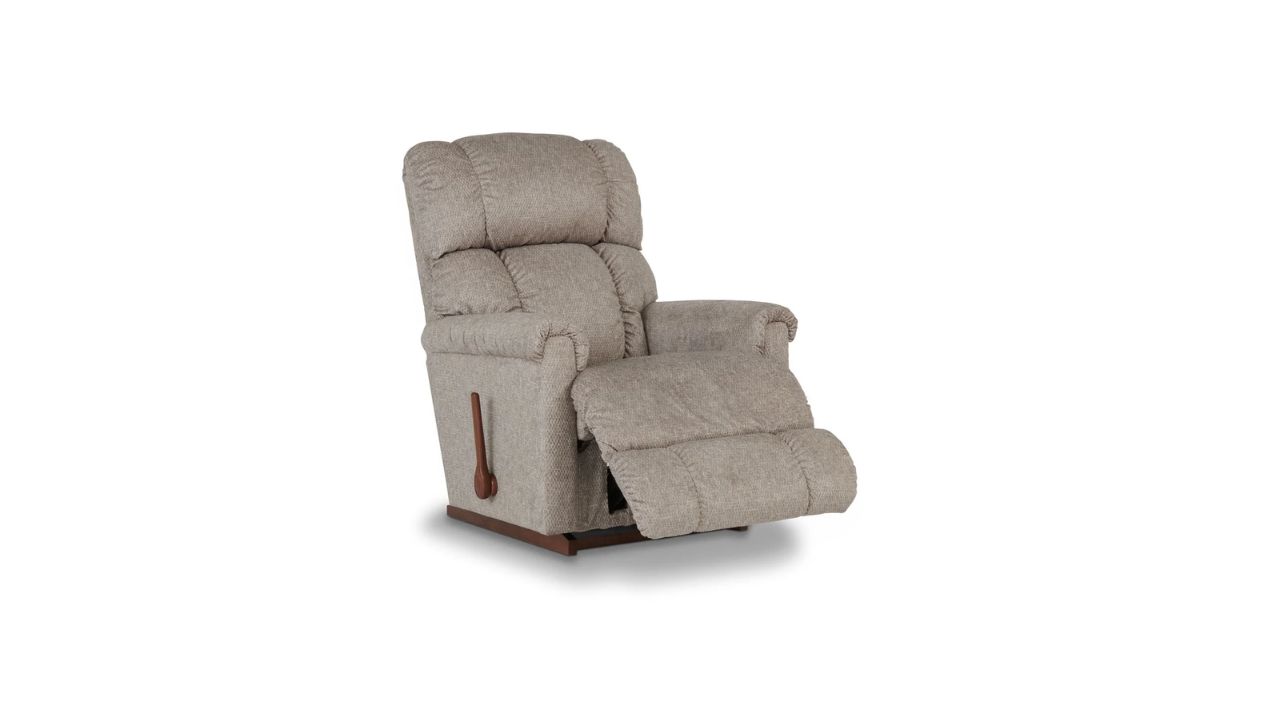
By: Henry Campbell • Living Room Furniture
How To Fix The Back Of A Lazy Boy Recliner
Introduction A Lazy Boy recliner is a beloved piece of furniture that provides comfort and relaxation. However, over time, the back of a Lazy Boy recliner may encounter issues such as leaning to one side, not reclining properly, or making creaking noises. These problems can significantly diminish the overall comfort...
Read More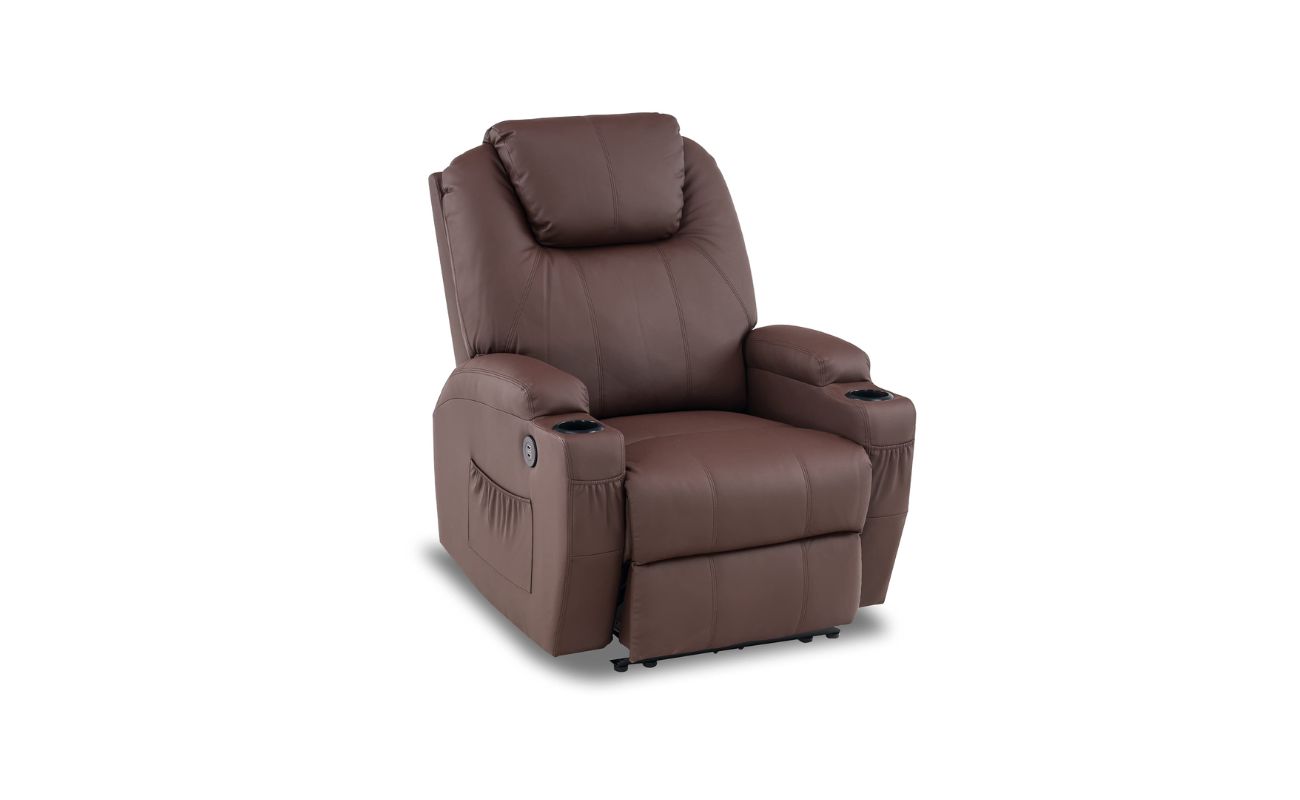
By: Sophia Turner • Living Room Furniture
How Do You Lubricate A Power Recliner?
Introduction Power recliners have become a staple in modern living rooms, offering unparalleled comfort and convenience. These innovative pieces of furniture are equipped with motorized mechanisms that allow users to effortlessly adjust the reclining position at the touch of a button. However, over time, the smooth operation of a power...
Read More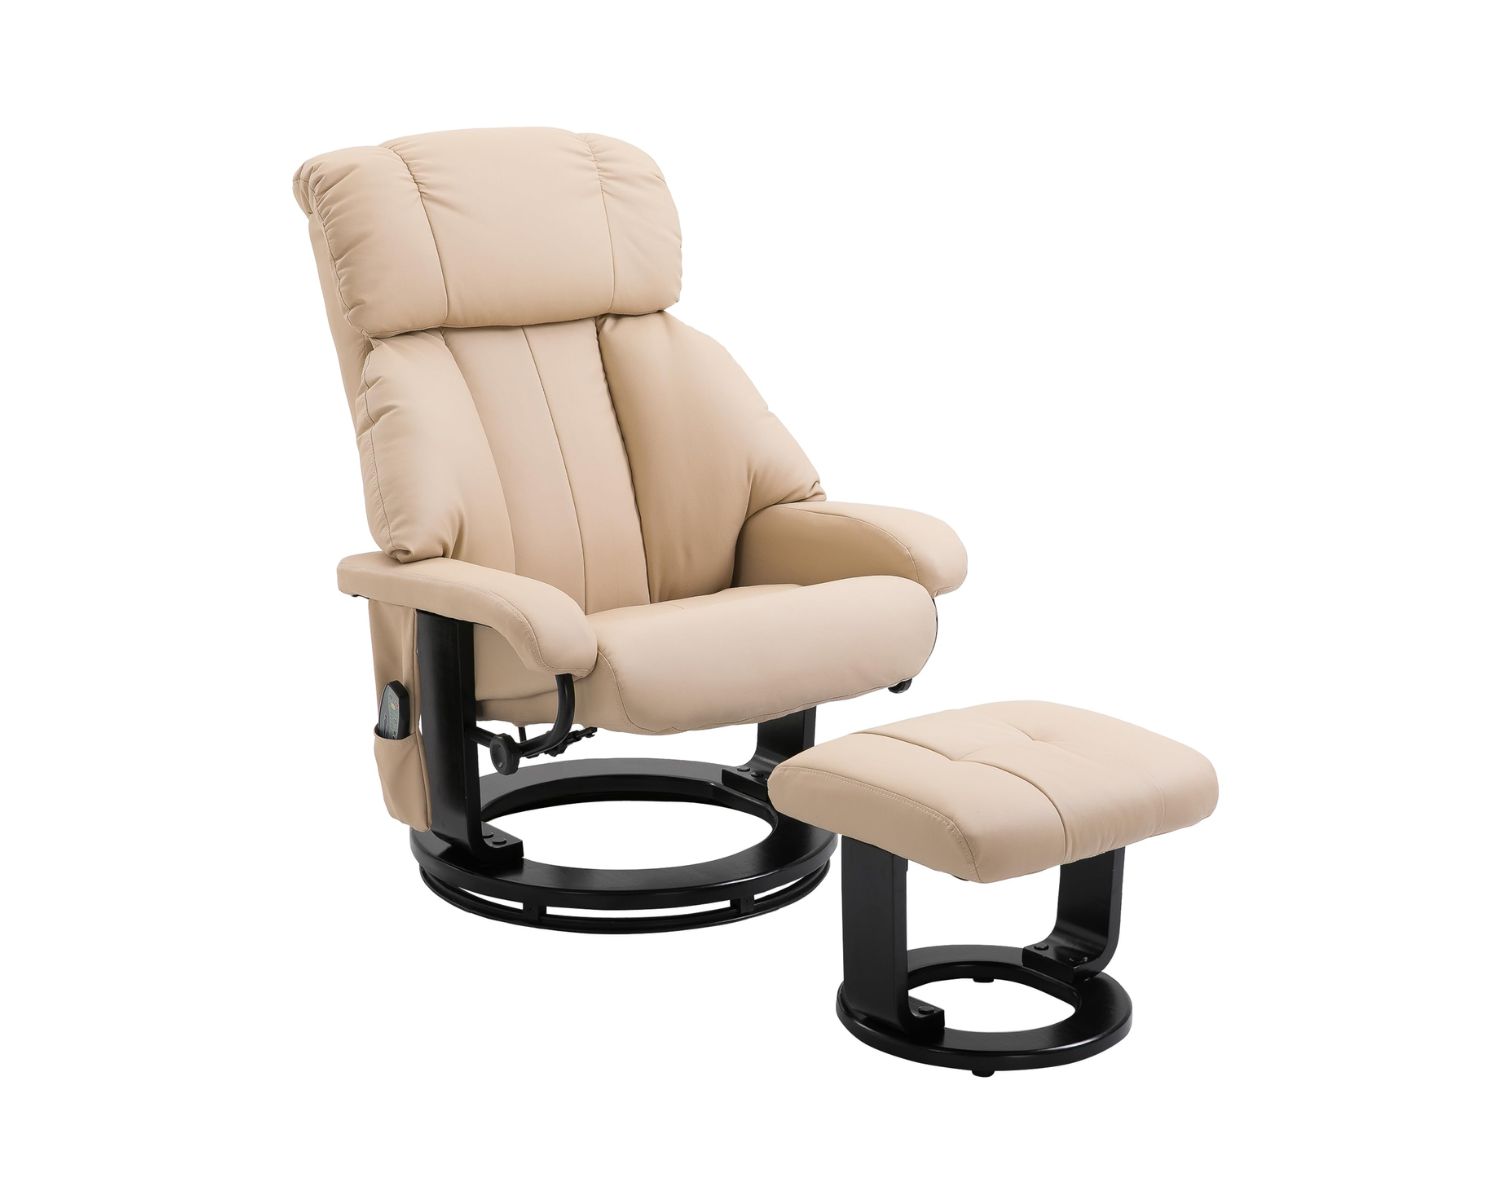
By: Amelia Brooks • Living Room Furniture
How To Stop Swivel Recliner From Turning
Introduction A swivel recliner is a versatile and comfortable piece of furniture that offers both relaxation and mobility. Whether it's for watching TV, reading a book, or simply unwinding after a long day, a swivel recliner provides a cozy spot to kick back and relax. However, there are times when...
Read More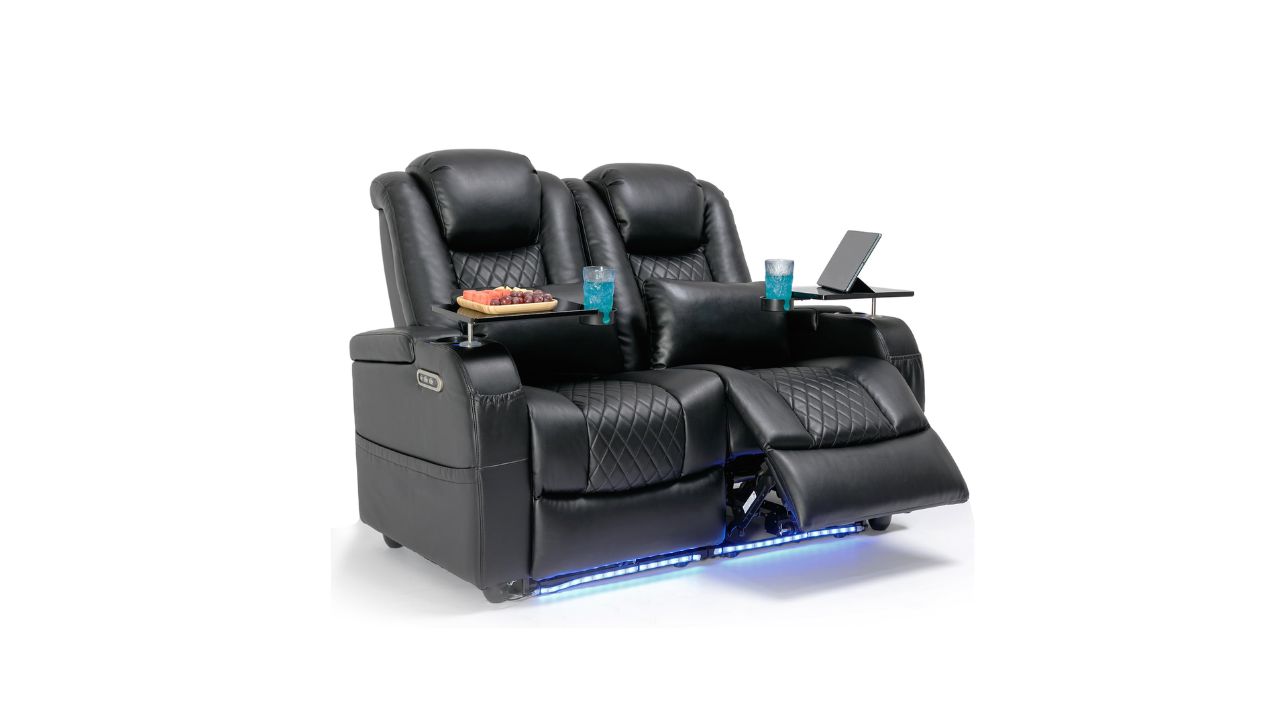
By: Noah Bennett • Living Room Furniture
What Is A Recliner Seat In Theatre?
Introduction When it comes to enjoying a movie or a live performance in a theatre, the seating experience plays a crucial role in shaping the overall enjoyment. In recent years, the introduction of recliner seats has revolutionized the traditional theatre experience, offering unparalleled comfort and luxury to patrons. These innovative...
Read More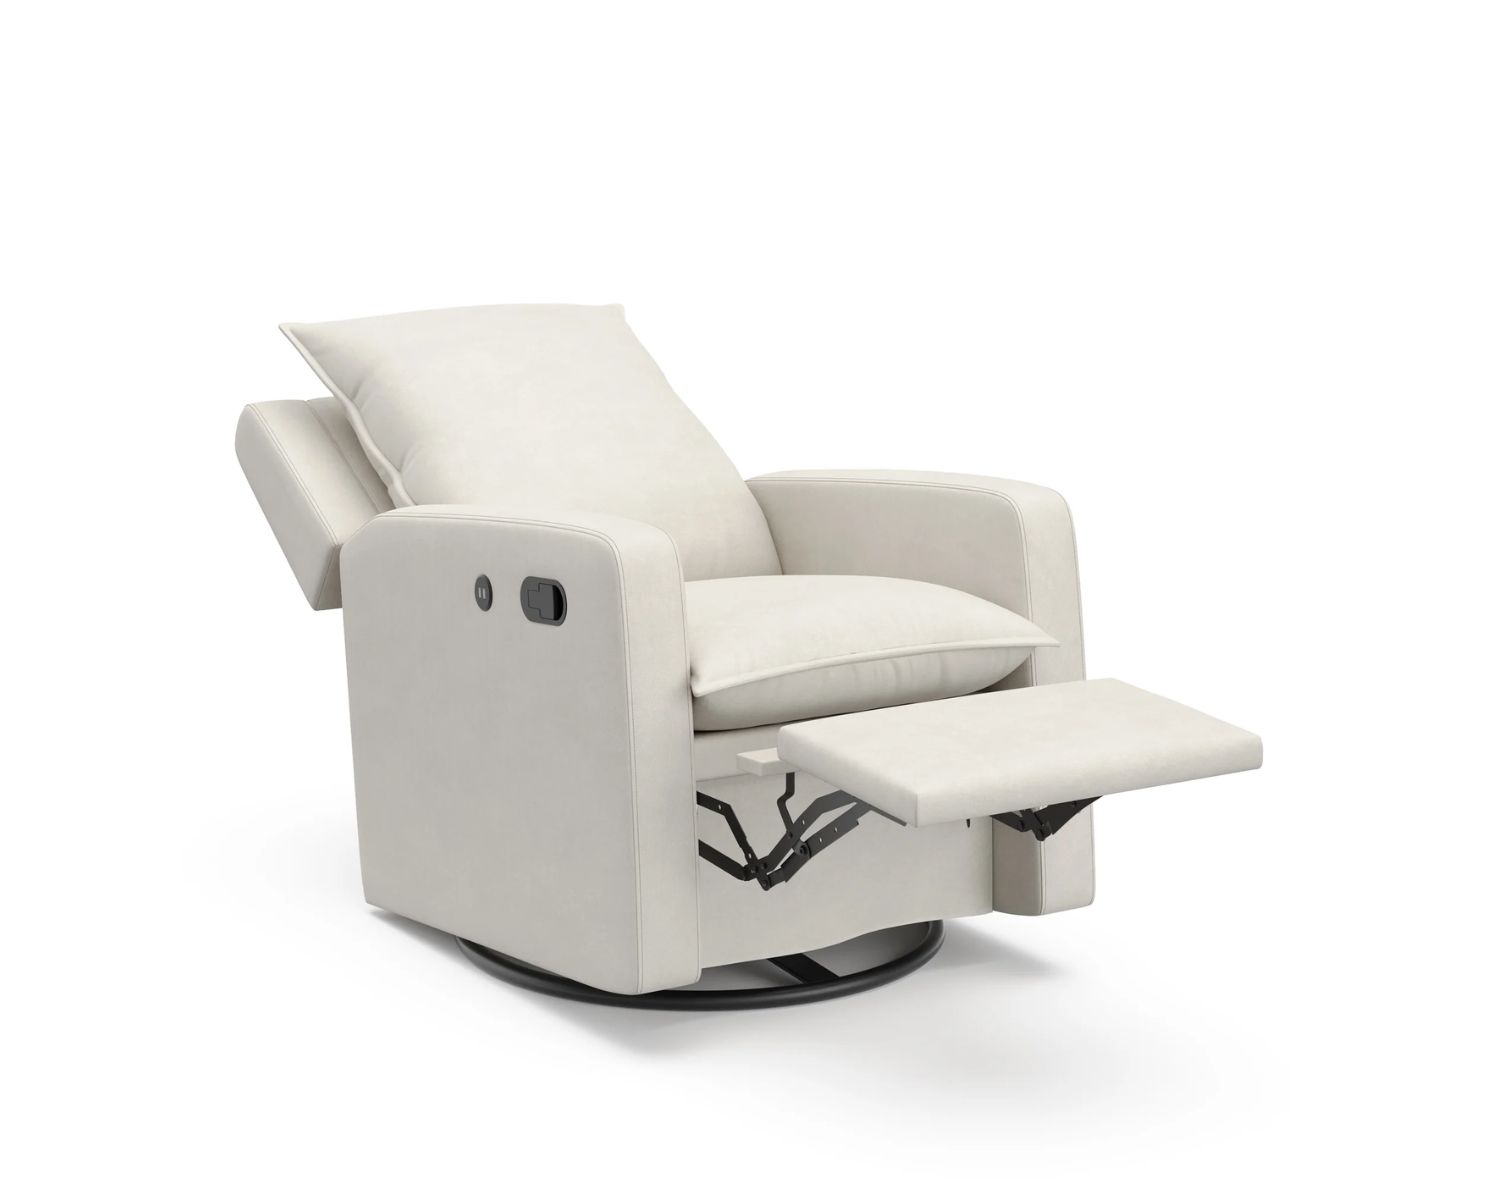
By: Olivia Parker • Living Room Furniture
How To Extend Footrest On A Recliner
Introduction Recliners are the epitome of comfort and relaxation, offering a luxurious way to unwind after a long day. One of the key features that make recliners so appealing is the footrest, which provides a supportive platform for your legs and feet. However, there are instances when the standard footrest...
Read More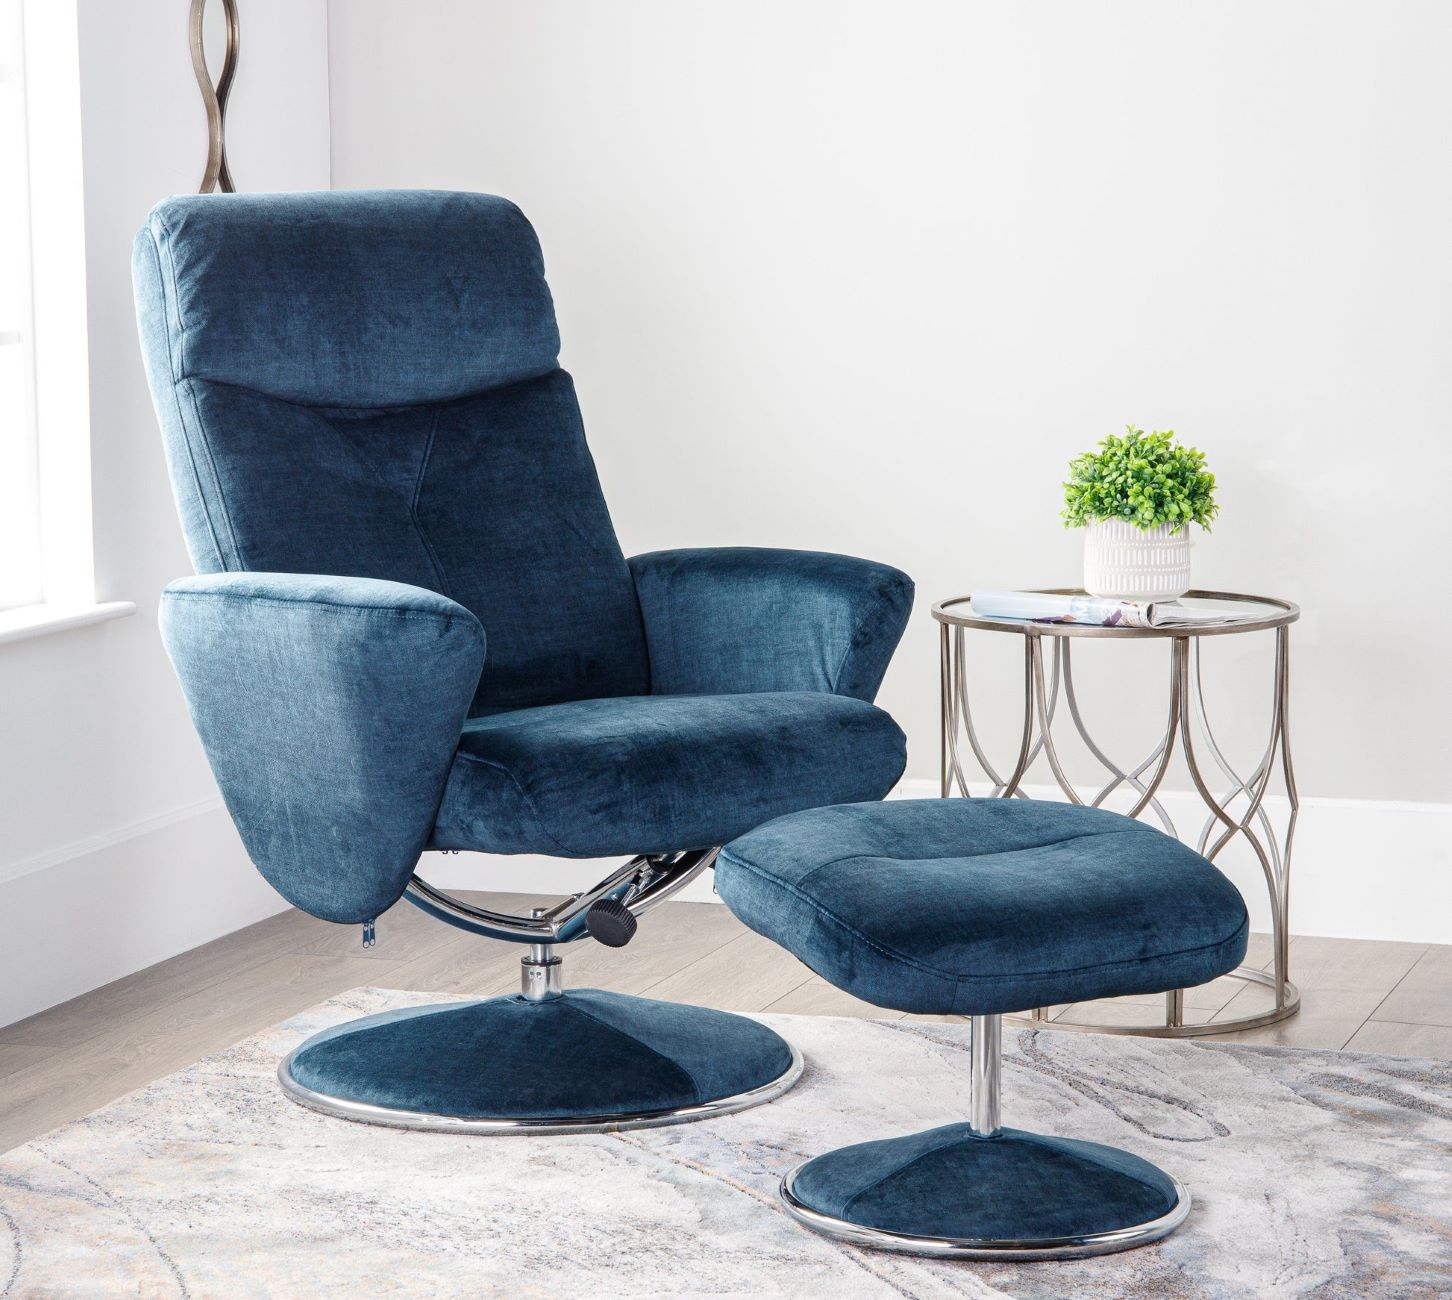
By: Benjamin Parker • Living Room Furniture
How To Clean A Recliner From Smells
Introduction A recliner is often the centerpiece of comfort in any living room, providing a cozy spot to relax and unwind after a long day. However, over time, it's not uncommon for a recliner to develop unpleasant odors that can detract from the overall enjoyment of the space. Whether it's...
Read More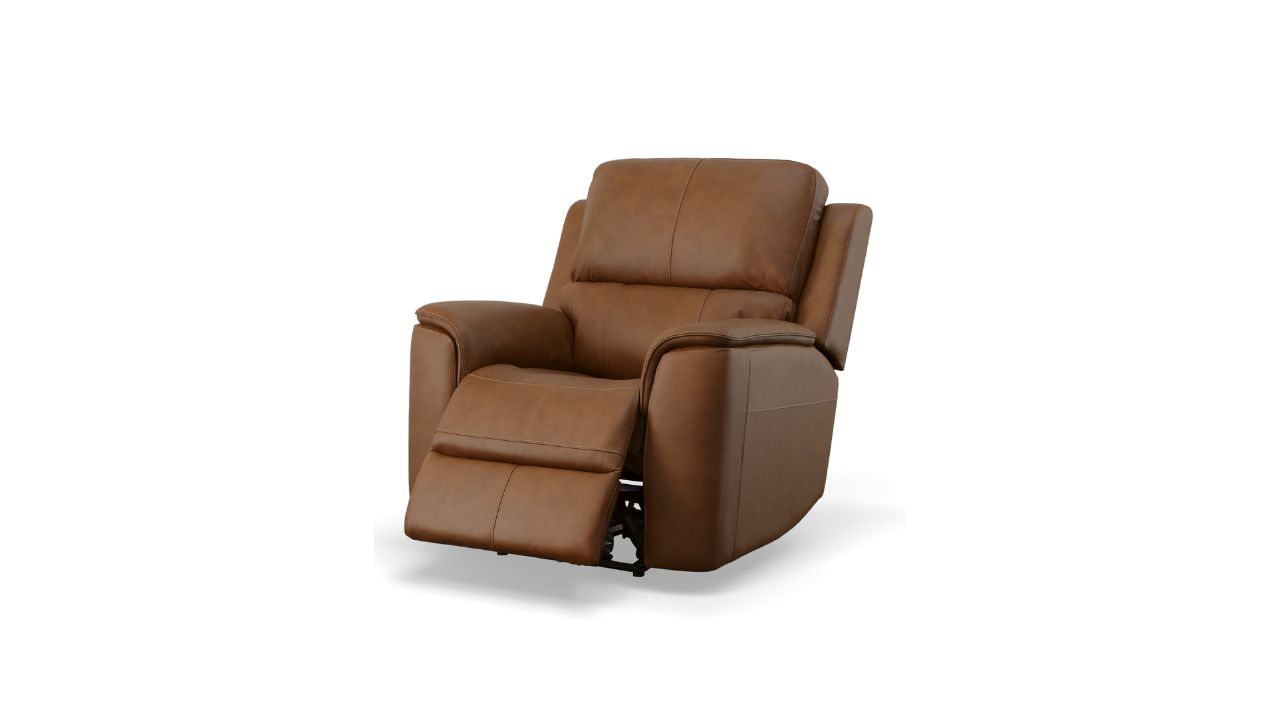
By: Sophia Turner • Living Room Furniture
How To Remove Back Of A Flexsteel Recliner
Introduction Removing the back of a Flexsteel recliner may seem like a daunting task, but with the right tools and techniques, it can be a straightforward process. Whether you need to clean behind the back or transport the recliner through a narrow doorway, knowing how to remove the back of...
Read More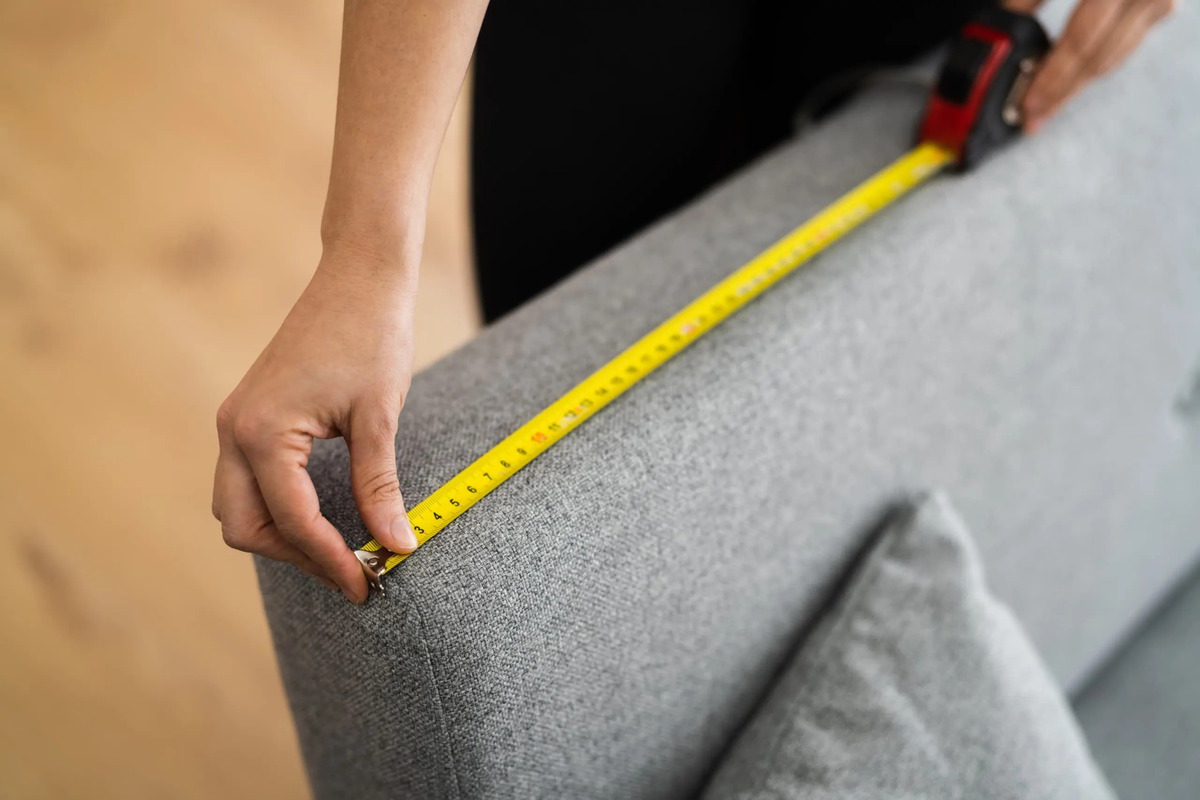
By: Lily Evans • Living Room Furniture
Introduction When it comes to selecting the perfect recliner for your living room, ensuring that it fits seamlessly into your space is crucial. Whether you're replacing an old recliner or purchasing one for the first time, taking accurate measurements is the first step in the process. By doing so, you...
Read More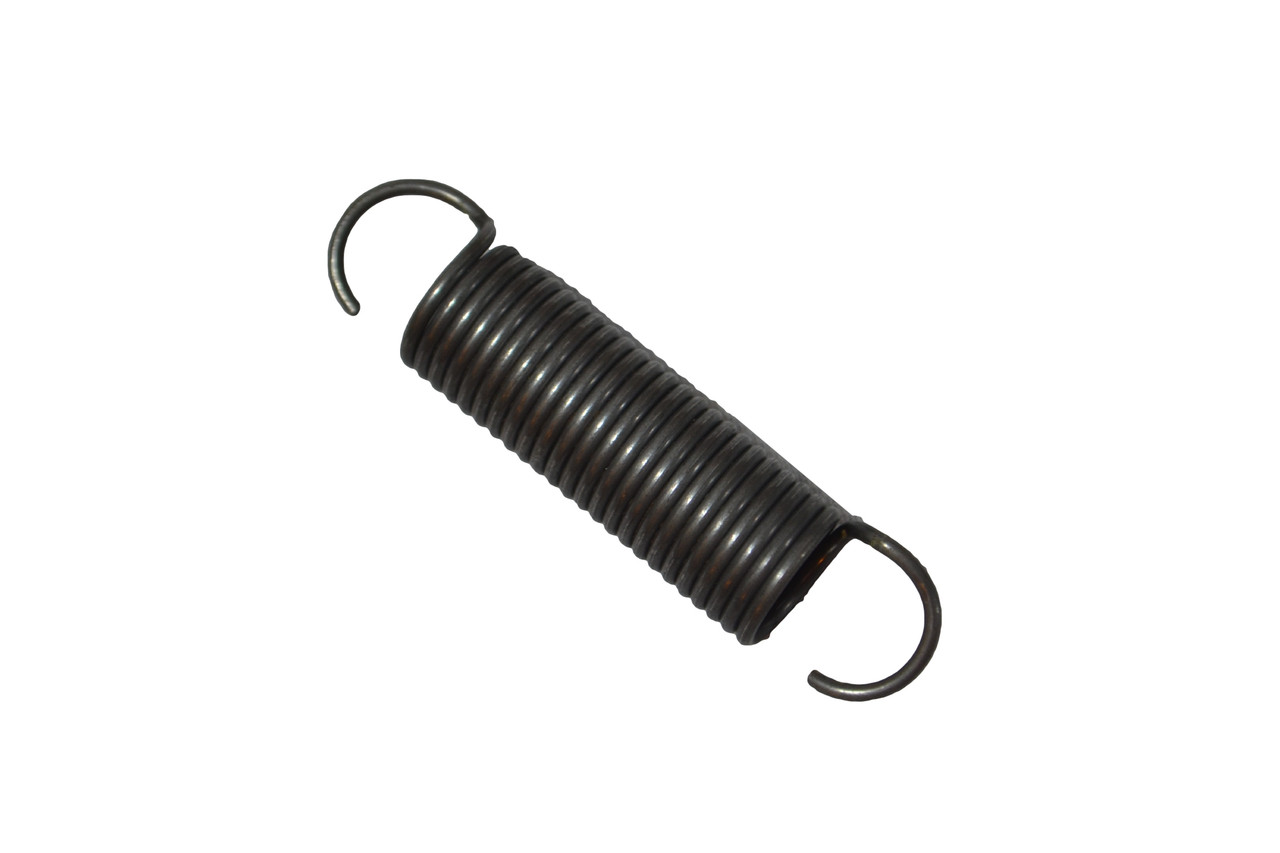
By: Benjamin Parker • Living Room Furniture
How To Fix A Lane Recliner Mechanism
Introduction A Lane recliner is a beloved piece of furniture that provides comfort and relaxation in any living room. However, over time, the recliner mechanism may encounter issues that hinder its smooth operation. Whether it's a stuck footrest, a malfunctioning lever, or a creaking sound, these problems can disrupt the...
Read More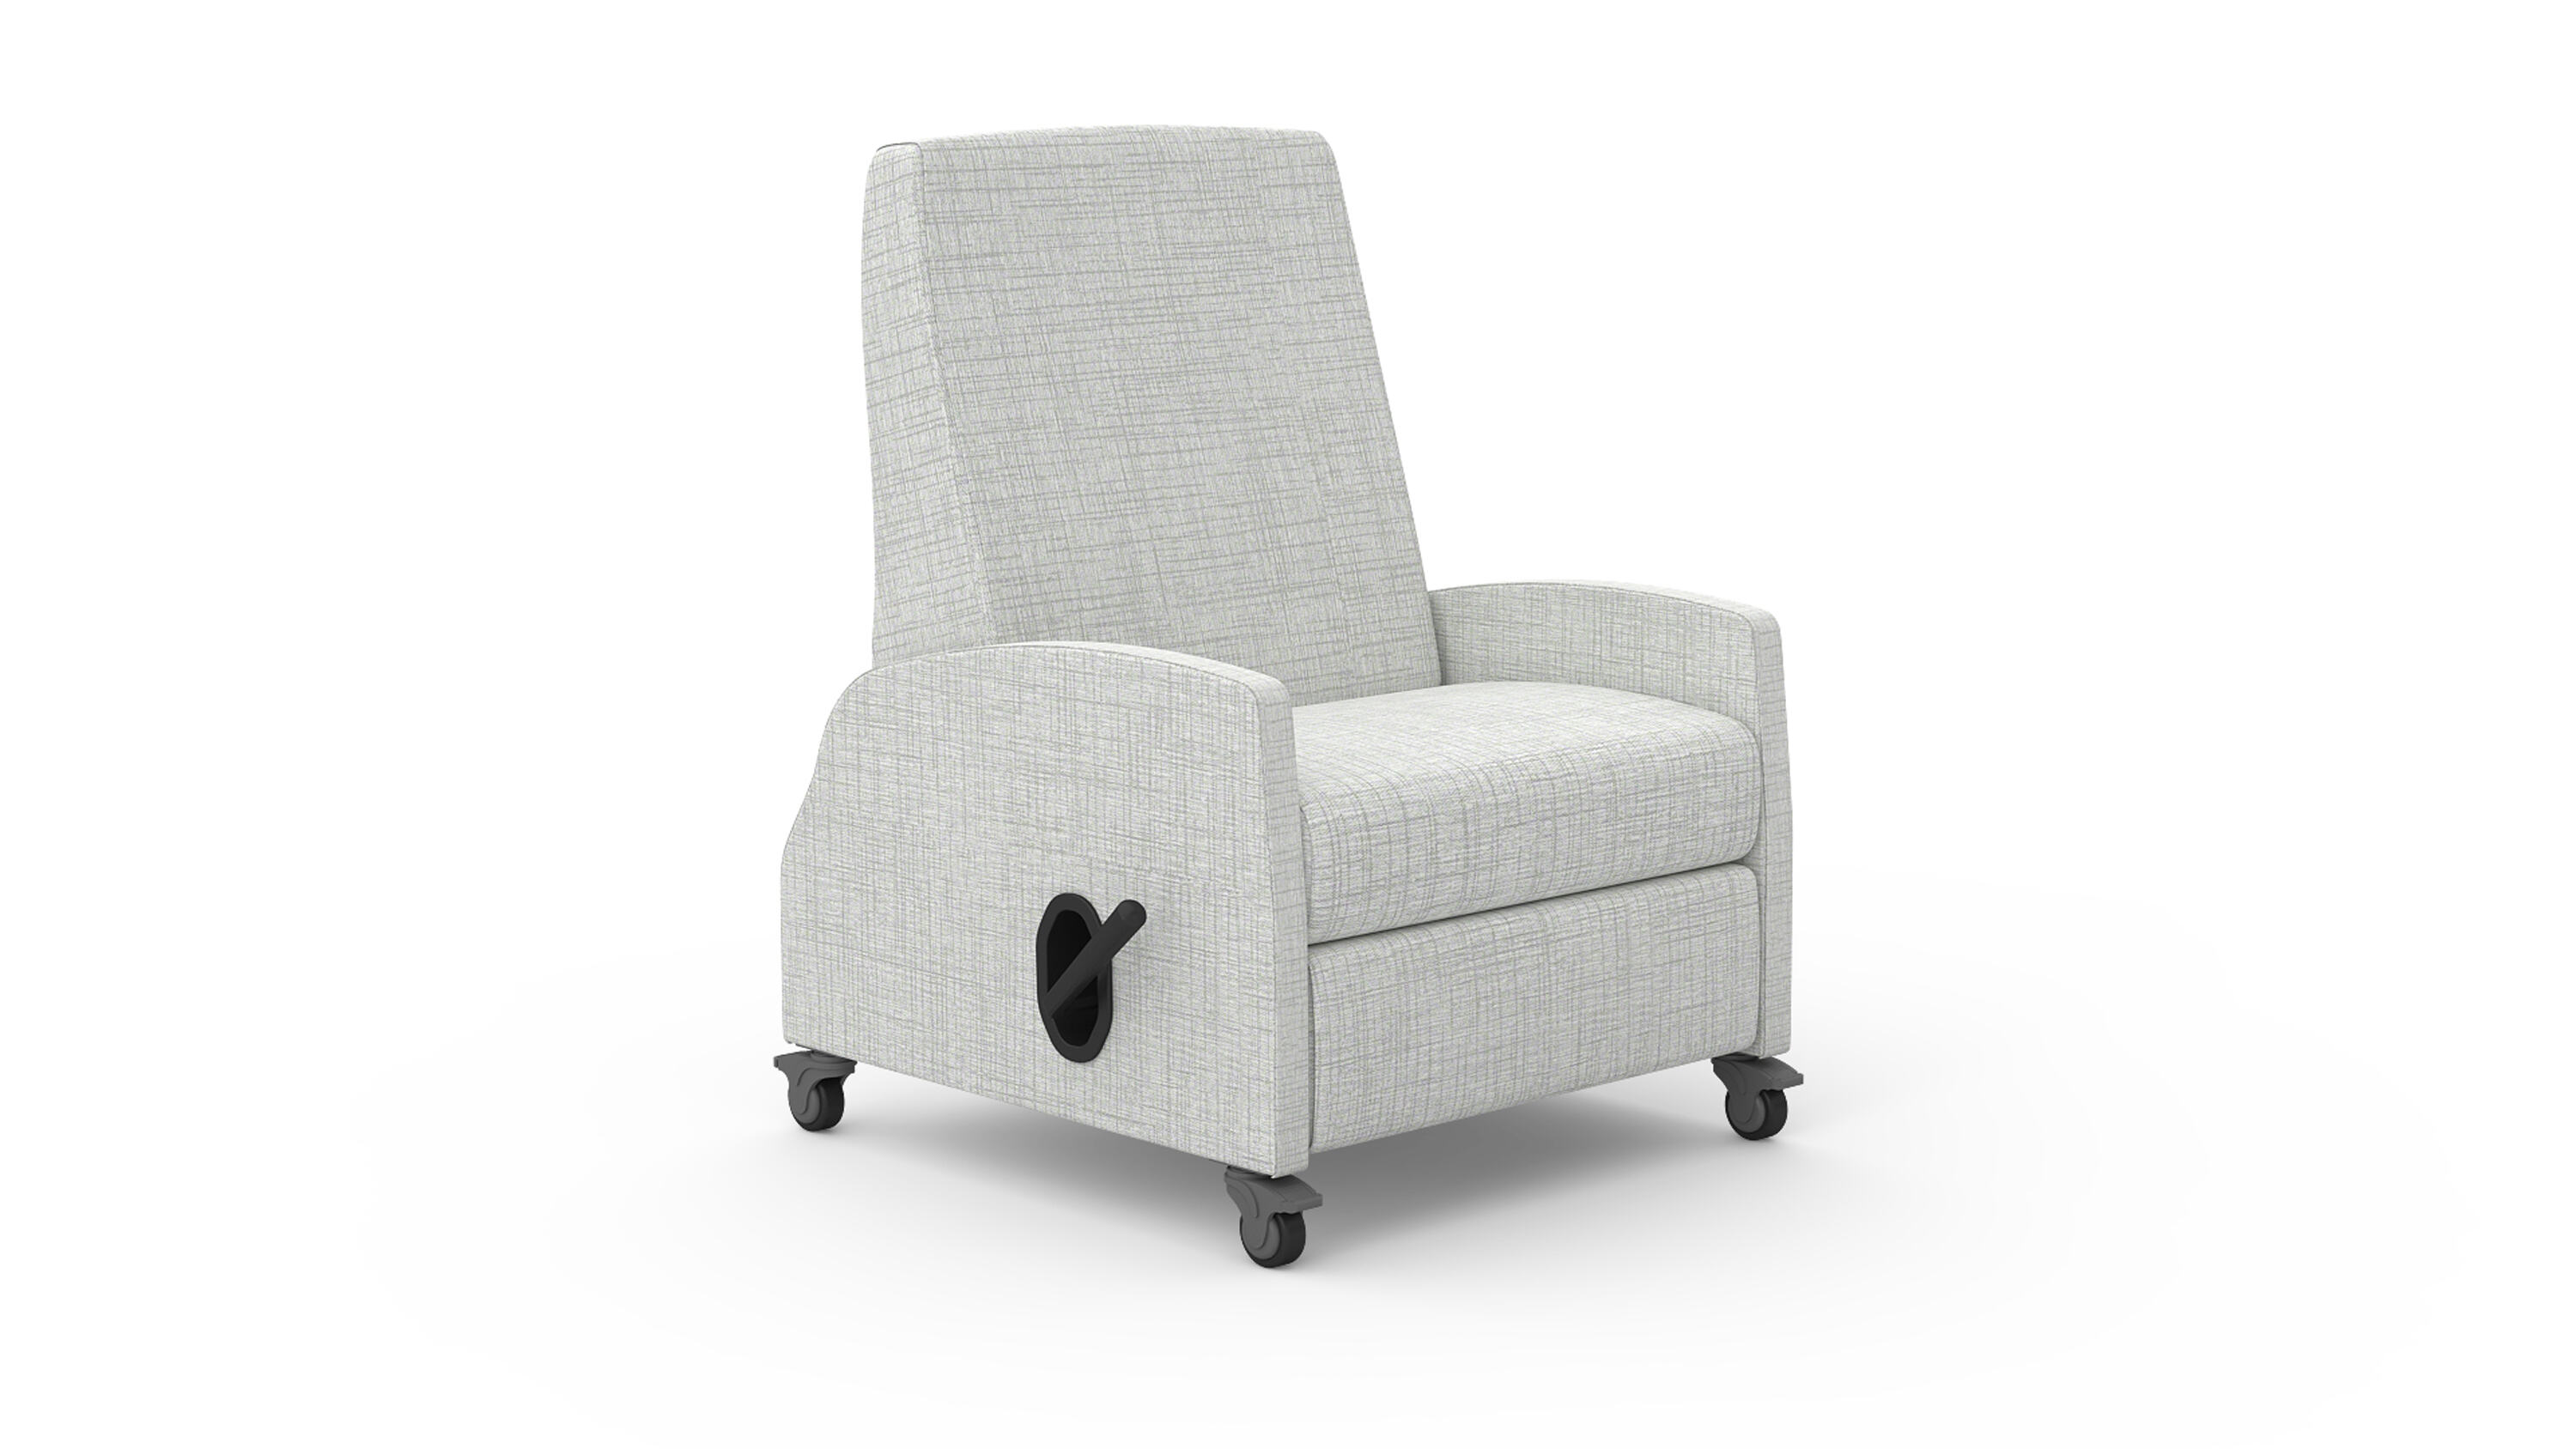
By: Chloe Davis • Living Room Furniture
How To Lock A Lazy Boy Recliner
Introduction When it comes to relaxation and comfort, few pieces of furniture can rival the beloved Lazy Boy recliner. Its plush cushioning, adjustable footrest, and reclining backrest make it the perfect spot to unwind after a long day. However, there are times when you may want to lock the recliner...
Read More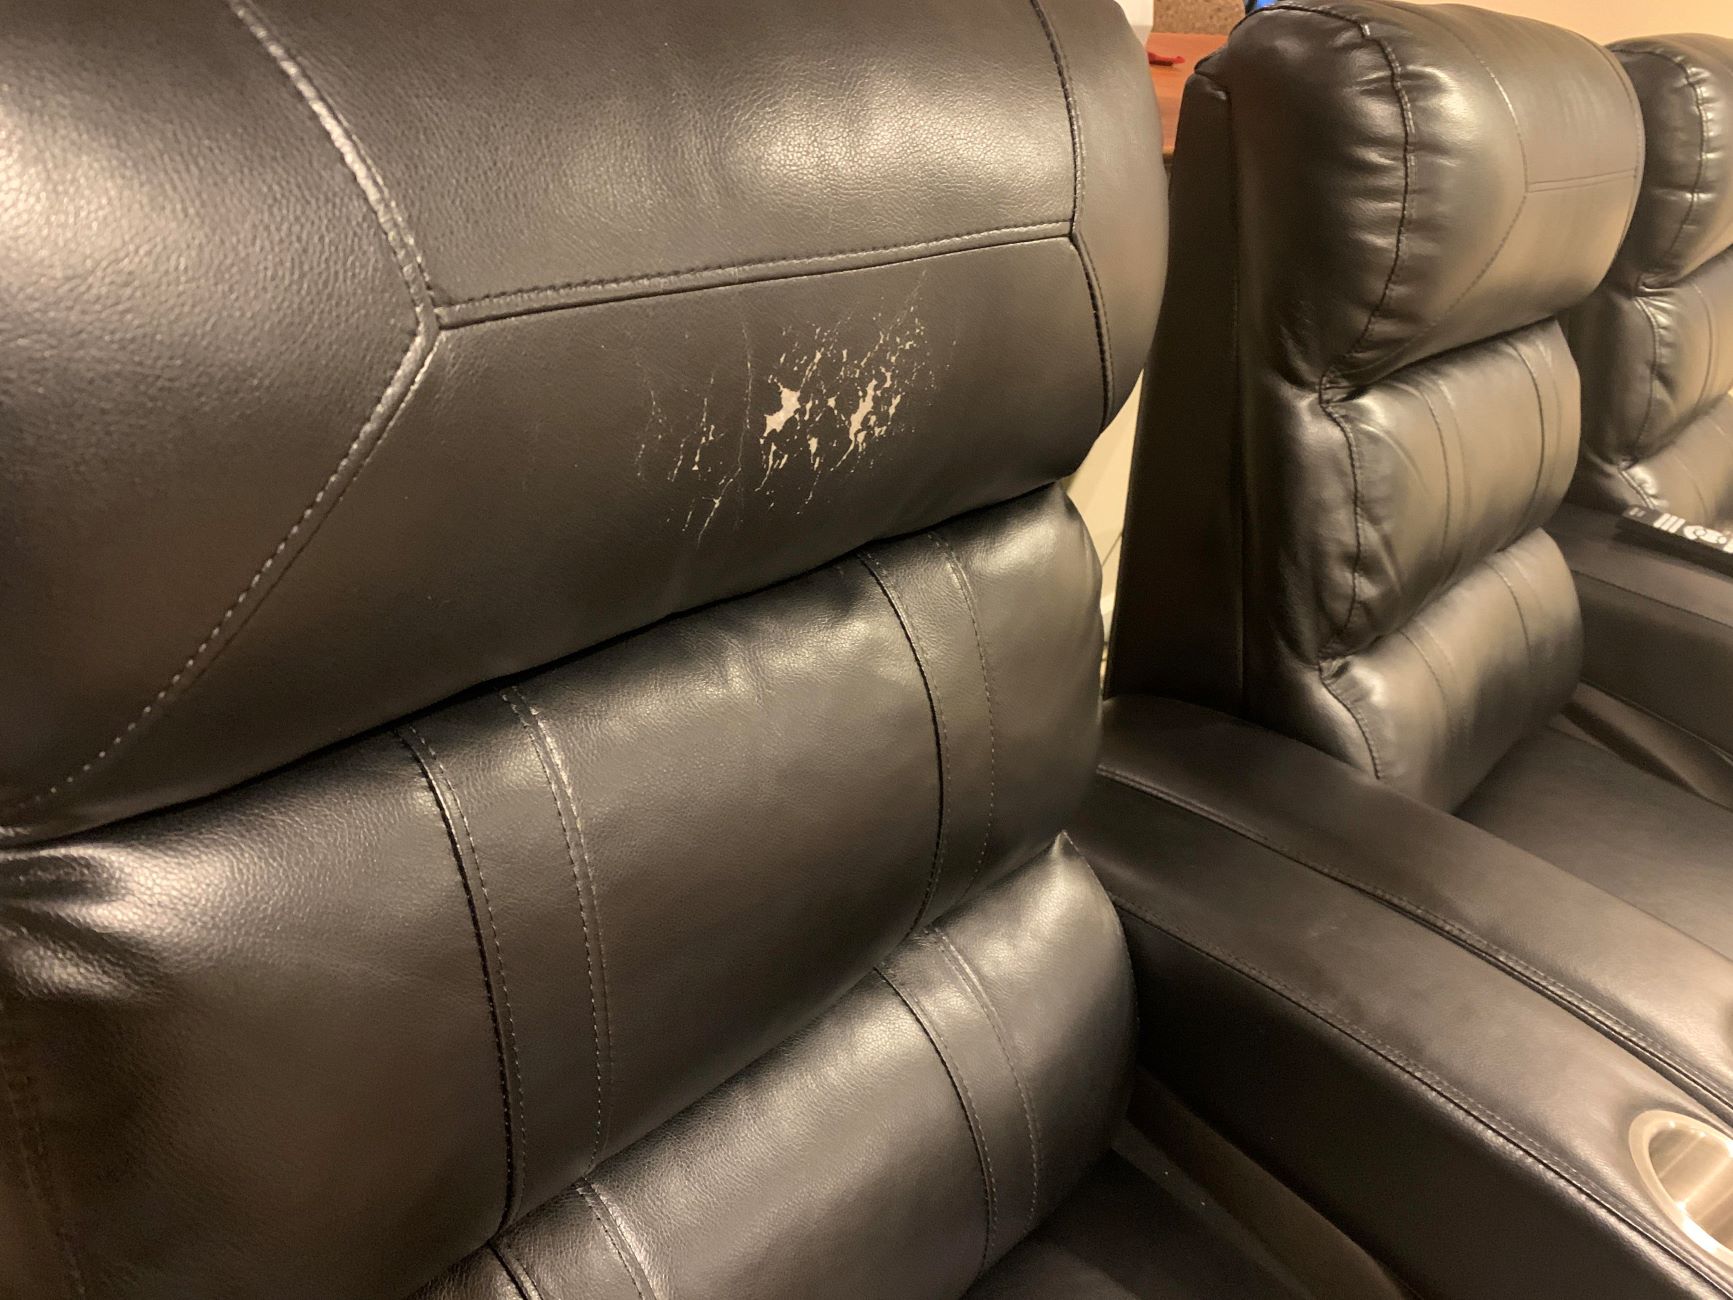
By: Emma Thompson • Living Room Furniture
How To Repair A Faux Leather Recliner
Introduction Repairing a faux leather recliner can breathe new life into a beloved piece of furniture. Whether it's a small scratch, a tear, or a loss of luster, knowing how to restore your faux leather recliner can save you money and extend the life of your favorite seat. This comprehensive...
Read More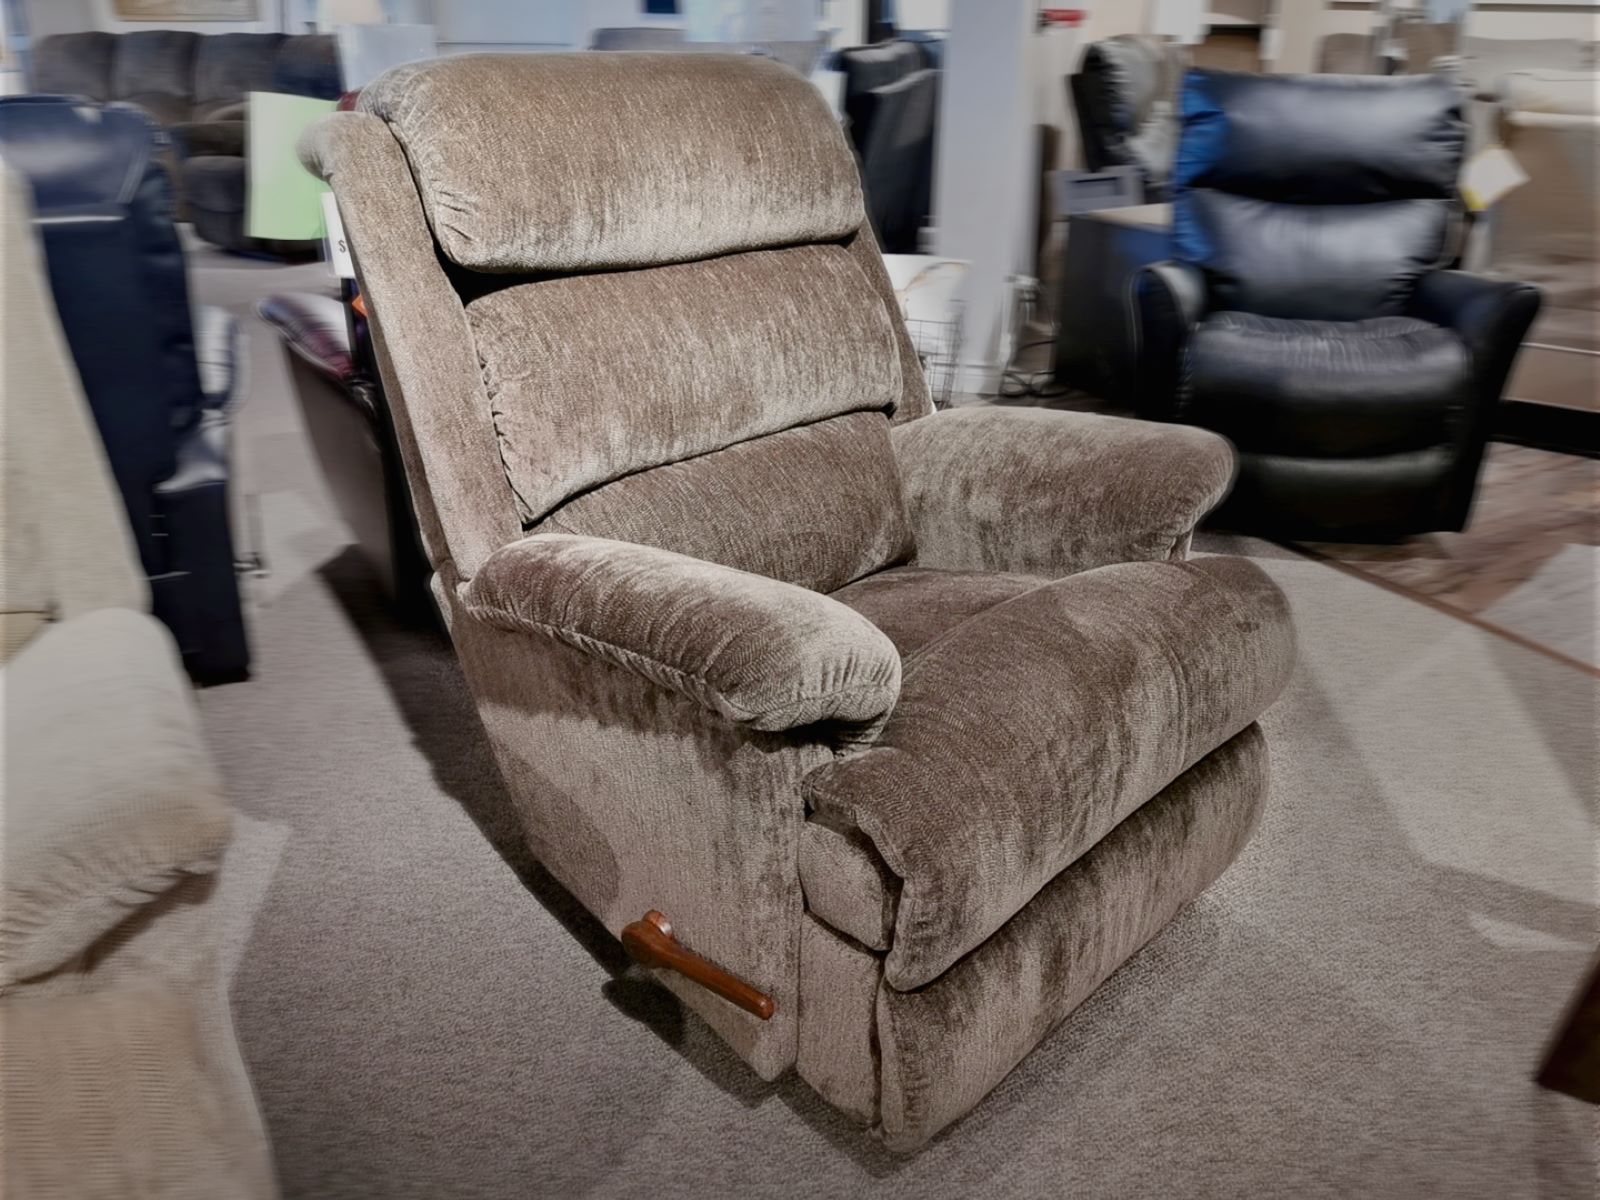
By: Daniel Carter • Living Room Furniture
How To Replace Seat Springs In A Lazy Boy Rocker Recliner
Introduction Replacing seat springs in a Lazy Boy rocker recliner can breathe new life into your favorite piece of furniture. Over time, the springs in a recliner can wear out, leading to sagging and discomfort. By replacing the seat springs, you can restore the comfort and support of your recliner,...
Read More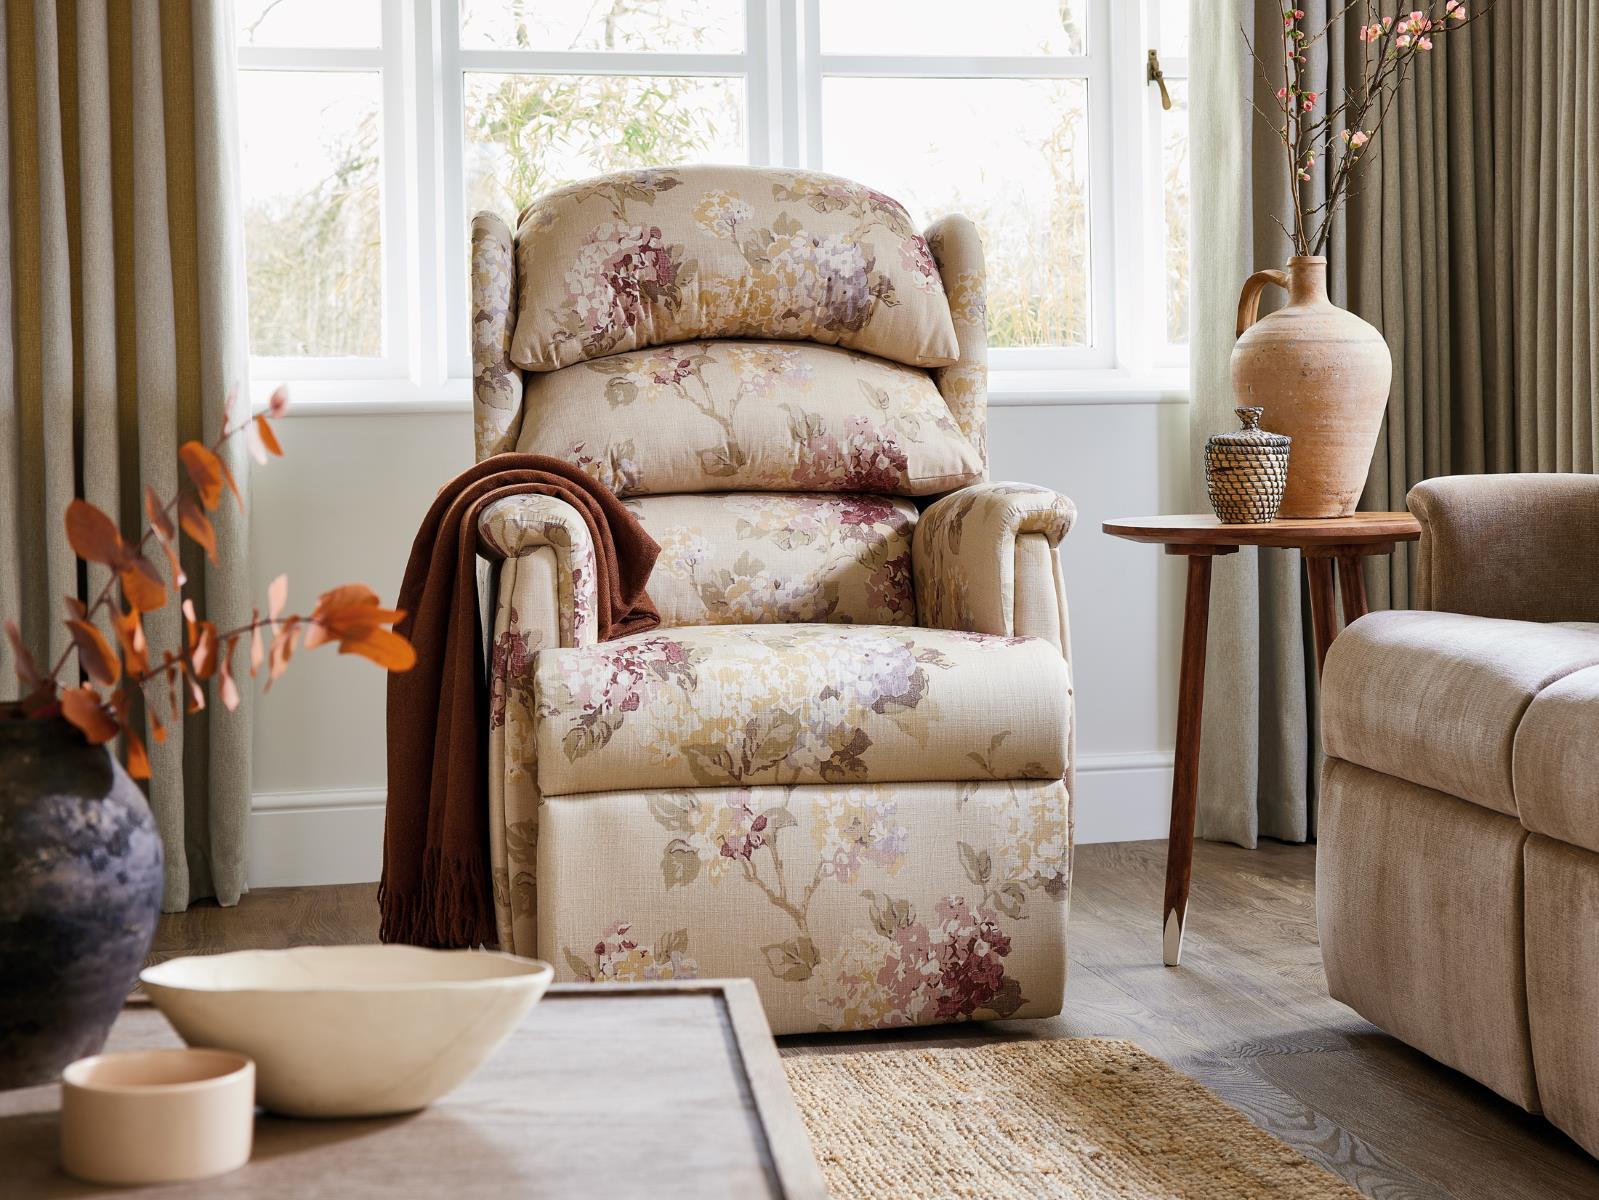
By: Ethan Hayes • Living Room Furniture
How Long Do Recliner Motors Last?
Introduction Recliners are a beloved staple of living room furniture, offering unparalleled comfort and relaxation. The motorized recliner, in particular, has revolutionized the way we unwind, providing effortless reclining and footrest extension at the touch of a button. However, as with any mechanical component, the lifespan of a recliner motor...
Read More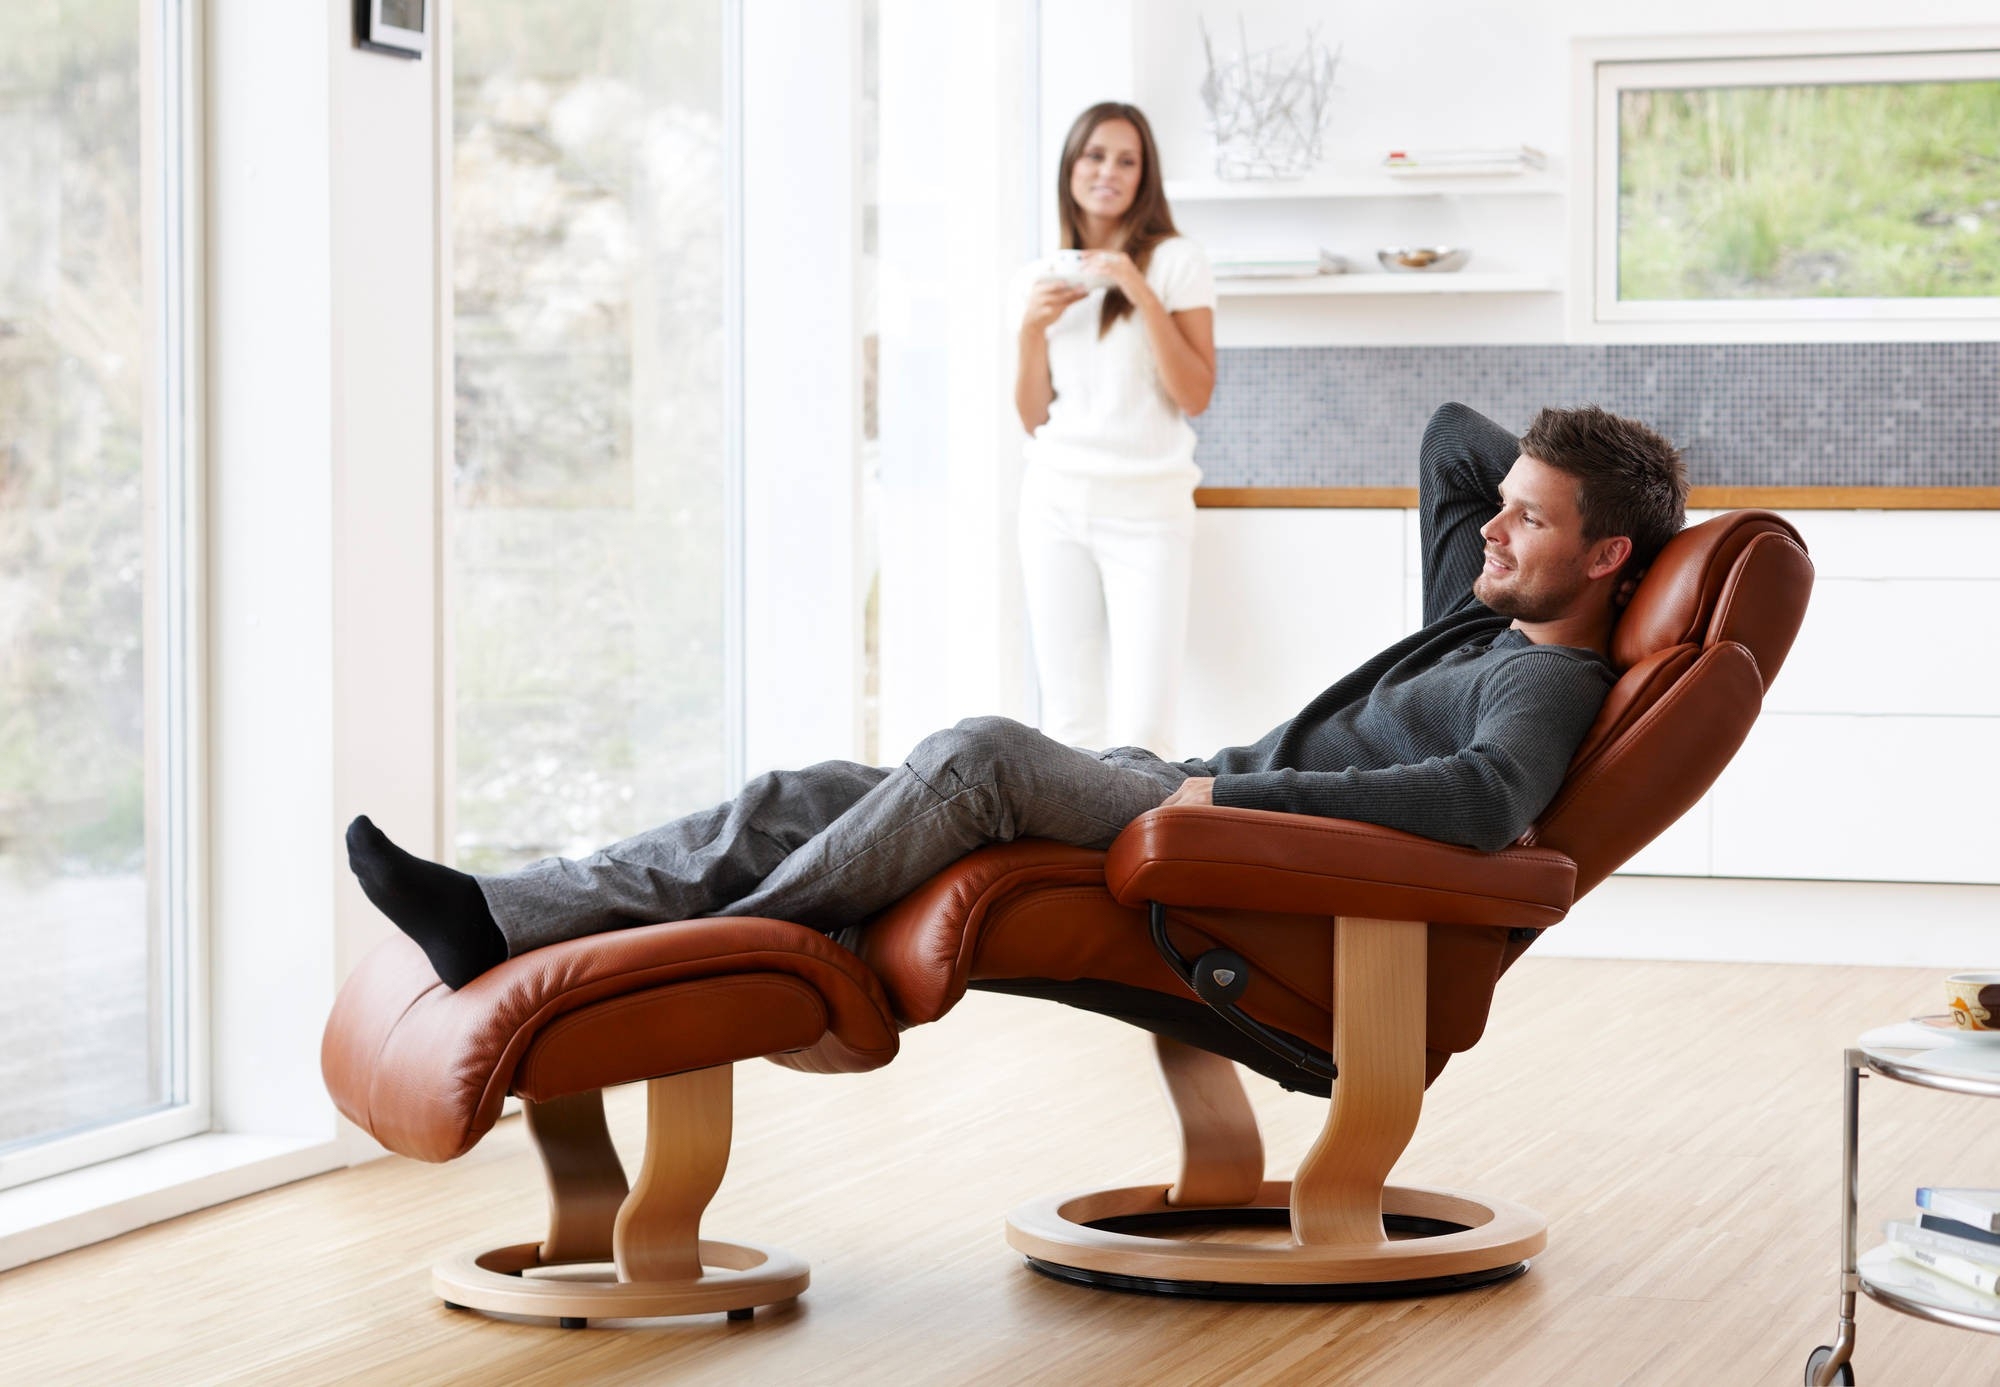
By: Henry Campbell • Living Room Furniture
Who Makes The Most Comfortable Recliner?
Introduction When it comes to creating a cozy and inviting living room, the choice of furniture plays a pivotal role. Among the various pieces that contribute to the comfort and aesthetics of a living space, the recliner stands out as an epitome of relaxation and luxury. Whether it's unwinding after...
Read More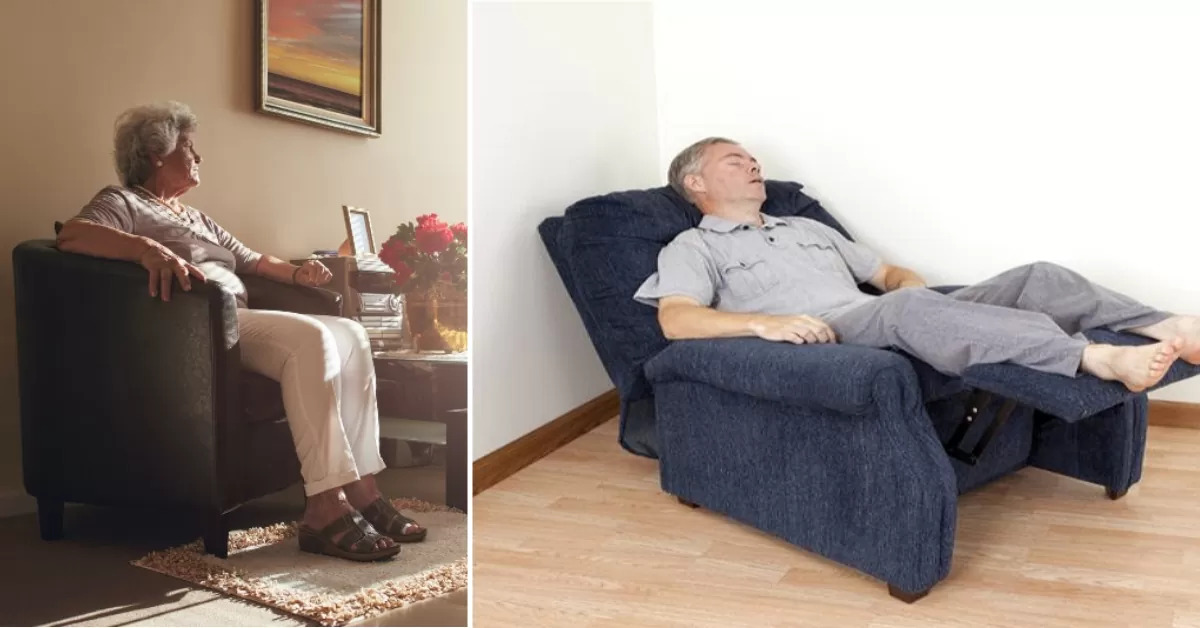
By: Olivia Parker • Living Room Furniture
How To Keep From Sliding Out Of A Recliner
Introduction Sliding out of a recliner can be an exasperating experience, disrupting the comfort and relaxation that recliners are designed to provide. Whether you're enjoying a leisurely evening or catching up on your favorite TV show, the last thing you want is to constantly readjust your position in the recliner....
Read MoreFeatured

By: William Harrison • Articles
8 Superior Instant Pot Duo Sv 6Qt Multi-Use Pressure Cooker For 2024
Read More
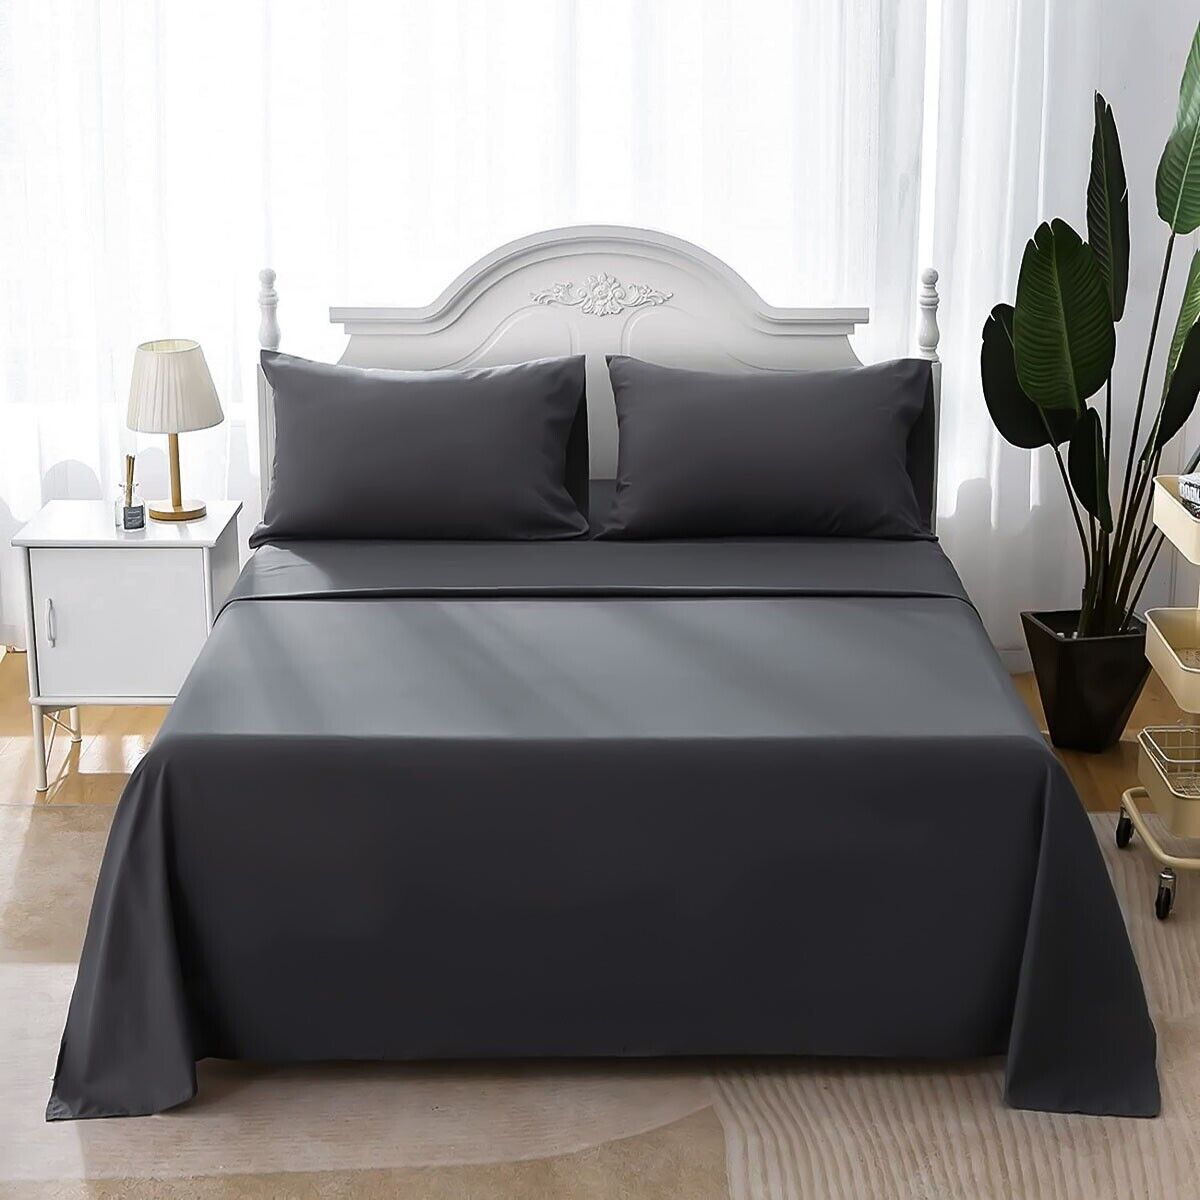
By: Olivia Parker • 100 Best Bedroom Furniture That Will Make Heads Turn
11 Amazing King Bed Sheets for 2024
Read More
PLEATED LAMPSHADE ARE MY NEW FAVORITE THING
SHOULD WE STAY LIGHT OR GO DARK WITH PAINTING OUR TINY MASTER BEDROOM?